Chapter 6 Replacement of CPU/Memory Board Unit (CMU), CPU, and DIMM 6-25
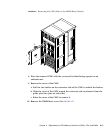
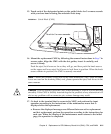
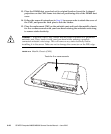
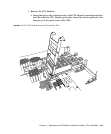
e. While grasping the front and upper handles of the CMU, pull it out slowly
from the slot.
Note – To upgrade the CMU, remove the dummy (filler) unit before mounting the
CMU to be added. Since the same levers are used on the dummy (filler) unit, please
operate the eject/lock levers in the same manner.
Caution – A CMU with mounted components in the maximum configuration
weighs about 22 kg.
9. Place the removed CMU with the cover facing upward on an antistatic mat.
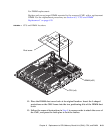
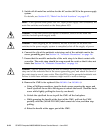
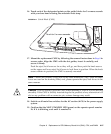
10. Remove the cover of the CMU.
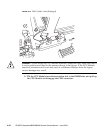
a. Pull the two latches on the connector side of the CMU to unlock the latches.
b. Slide the cover of the CMU toward the connector side to release it from the
guide pins (two pins on each side).
c. Raise the cover of the CMU to remove it.
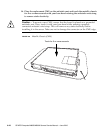
11. Remove the DIMM duct cover.
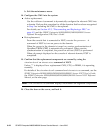
12. Replace parts.
In CMU replacement:
Remove all the CPUs and DIMMs mounted in the removed CMU, and remount
them in the replacement CMU.
Note – Be sure to remount the CPUs and DIMMs in the same locations in the
replacement CMU as their mounting locations in the swap target CMU.
For CPU replacement:
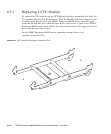
Replace each swap target CPU mounted in the removed CMU with a replacement
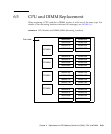
CPU. For the replacement procedure, see Section 6.5, “CPU and DIMM
Replacement” on page 6-29.
For DIMM replacement:
Replace each swap target DIMM mounted in the removed CMU with a replacement
DIMM. For the replacement procedure, see Section 6.5, “CPU and DIMM
Replacement” on page 6-29.


