Chapter 20 Backplane Replacement 20-19
6. Connect the clip of the antistatic wrist strap and of the antistatic mat to the
server grounding port. See Section 1.4, “Antistatic Precautions” on page 1-6.
7. Ensure that the metallic underside of the wrist strap is in direct contact with
your skin. The wrist strap should be snug around the wrist so that it does not
rotate. See Section 1.4, “Antistatic Precautions” on page 1-6.
Caution – Before handling FRUs, be sure to connect the clip of the antistatic wrist
strap and of the antistatic mat to the server grounding port, and attach the band of
the wrist strap to one of your wrists. Place the FRUs on the grounded antistatic mat.
Failure to take these antistatic measures might result in serious damage.
8. Remove following components so that you can access the PSU BP to be
replaced.
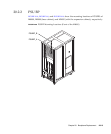
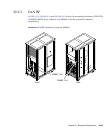
■ M8000 (See FIGURE 20-11):
a. Remove all nine PSUs. (See Chapter 9)
b. Return the fixing brackets of the PSU at their original locations, and secure
them with screws temporarily.
c. Using a Phillips screwdriver, loosen the three thumb screws on the right side
of the PSU shelf.
d. While grasping the handle on the lower right side of the PSU shelf, pull out
the shelf carefully.
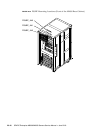
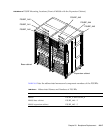
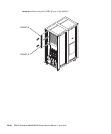
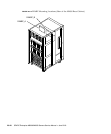
■ M9000 (See FIGURE 20-12):
a. Remove all 15 PSUs. (See Chapter 9)
b. Mount the fixing brackets of the PSU at their original locations, and secure
them with screws temporarily.
c. Using a Phillips screwdriver, loosen the two thumb screws in the upper part
of the PSU shelf.
d. While grasping the handle at the upper part of the PSU shelf, pull out the
shelf carefully.
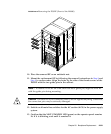
9. Remove the PSU backplane (PSUBP) to be replaced. Although two types of BPs
are used, the replacement procedures are the same, with the only difference
being the numbers of connectors they have (PSUBP_A: 5 connectors; PSUBP_B:
4 connectors).
a. Using a Phillips screwdriver, loosen the two thumb screws in the PSU BP.
b. Pull out the PSUBP carefully.


