Chapter 13 PCI Slot Device Replacement 13-23
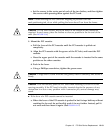
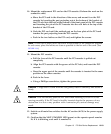
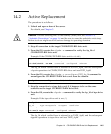
10. Mount the replacement PCI card on the PCI cassette. (Perform the work on the
conductive mat.)
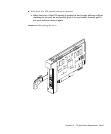
a. Move the PCI card in the direction of the arrow, and mount it on the PCI
cassette by inserting the part projecting out at the bottom of the bracket of
the PCI card into the hole at the bottom of the front panel of the PCI cassette
and inserting the pin of the PCI cassette into the oval hole at the top of the
bracket of the PCI card.
b. Push the PCI card until the notched part on the base plate of the PCI card
touches the part projecting from the PCI cassette.
c. Push in the two latches on the PCI card, and tighten the screws.
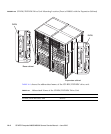
Note – If the card is short, move the screw at the bottom of the cassette as required.
In such cases, place the latches as close as possible to the far end of the card. (See
FIGURE 13-9)
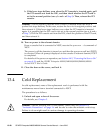
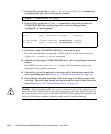
11. Mount the PCI cassette.
a. Pull the lever of the PCI cassette until the PCI cassette is pulled out
completely
b. Align the PCI cassette with the groove of the PCI slot, and insert the PCI
cassette.
c. Press the upper part of the cassette until the cassette is inserted in the same
position as the other cassettes.
d. Push in the lever.
e. Using a Phillips screwdriver, tighten the green screw.
Caution – Align the PCI card with the slot guides, insert it carefully, and secure it
firmly.
Caution – Do not forcibly push the PCI card when inserting it, even if it is not
moving smoothly. If the PCI card is forcibly inserted despite the presence of any
obstruction in a slot or any problem with a connector pin, serious damage may
result.
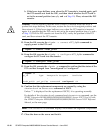
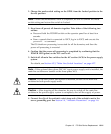
12. Switch on all main line switches for the AC section (ACS) in the power supply
system.
13. Confirm that the XSCF STANDBY LED (green) on the operator panel remains
lit. If it is blinking, wait until it remains lit.


