


Section 3 – Installation
Page 15 09/11/2008 REV 0.99
3.3.1 Panel Mounting
The recorder should be mounted in a vertical panel to ensure proper operation. Note that the locking bars can
be used on the sides or top and bottom of the unit depending on available space. Ensure you have the proper
clearances and proceed as follows:
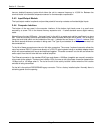
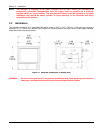
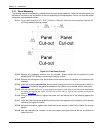
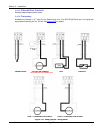
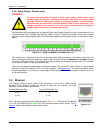
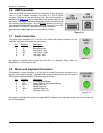
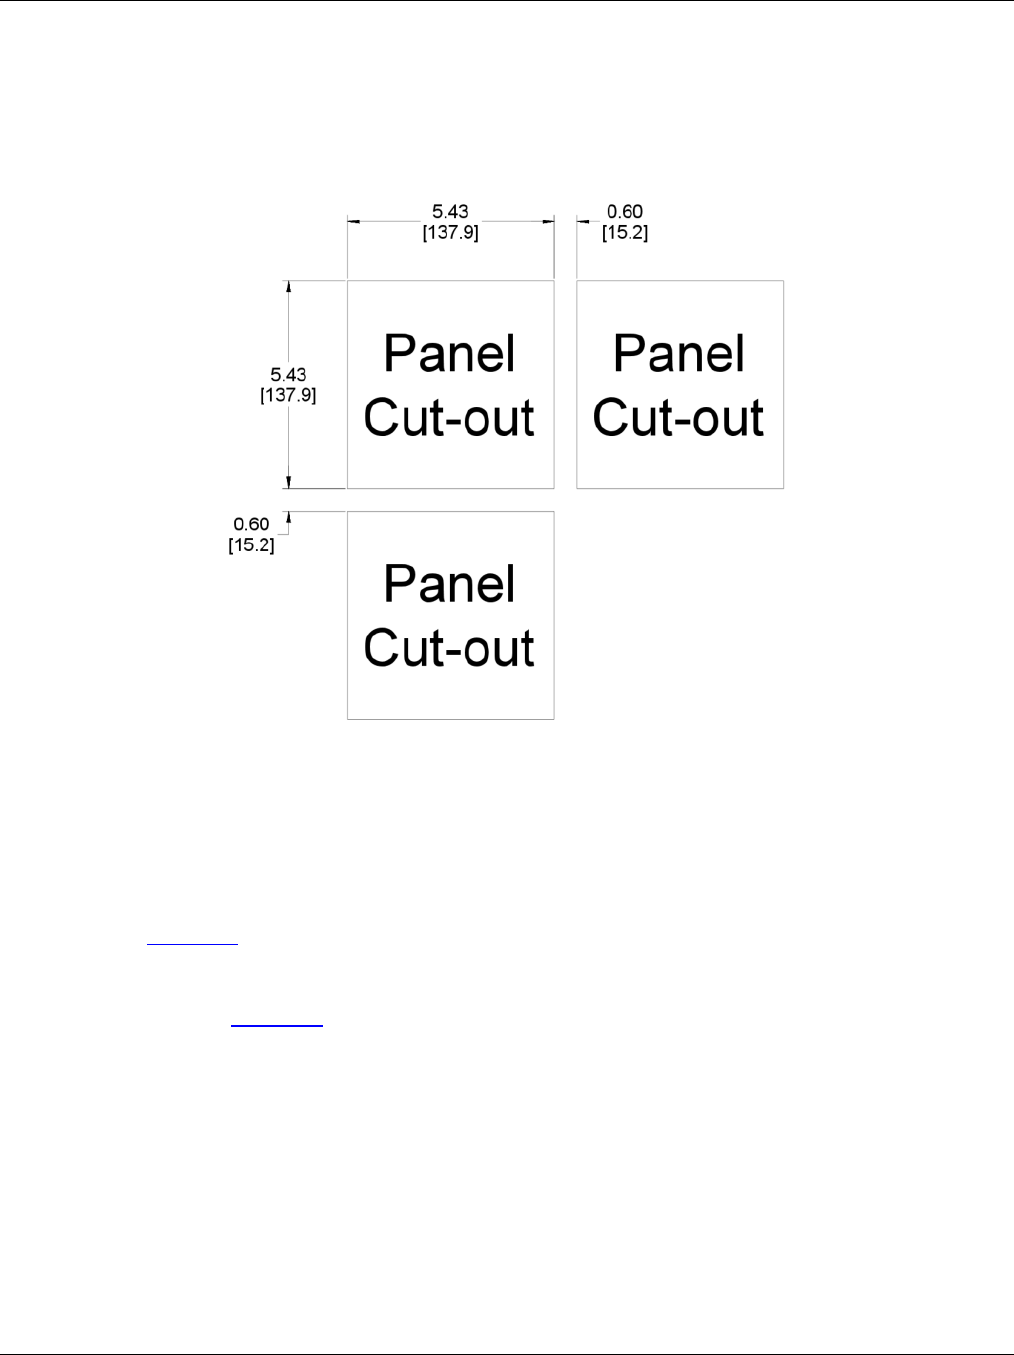
3.3.1.1 Cut a panel opening 5.43” x 5.43” [138 mm x 138 mm]. Units can be mounted as close as 0.6”
[15.2mm] between opening cutouts
Figure 3-2 Front Panel Cut Out
3.3.1.2 Remove any packaging material from the recorder. Always handle the unit carefully to avoid
damaging the LCD display or scratching the display surface.
3.3.1.3 Remove the locking bars from the recorder enclosure and ensure the gasket is not twisted on the
enclosure.
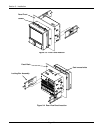
3.3.1.4 Insert the recorder rear end first, into the panel opening from the front of the panel as shown in
Figure 3-3. Ensure that the gasket is between the front bezel of the recorder and the front panel.
3.3.1.5 With the recorder held firmly in place against the panel, install one of the locking bar assemblies
by sliding the locking bar notch into the slot on the side (or top) of the recorder enclosure as
shown in Figure 3-4.
3.3.1.6 Using a slotted screwdriver, tighten the screw until the locking bar is just pressing against the
panel.
3.3.1.7 Install the other locking bar assembly into the slot on the opposite side (or bottom) of the recorder
enclosure and tighten as before.
3.3.1.8 Using the screwdriver, tighten both screws so that the recorder is held firmly in place. Do not over
tighten.
3.3.1.9 Use the supplied silver “stickers” to seal the unused locking bar slots on the top and bottom or
sides of the unit