


Section 5 – Recorder Setup
Page 79 09/11/2008 REV 0.99
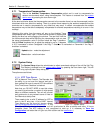
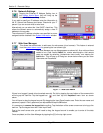
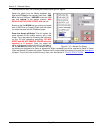
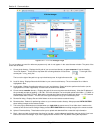
Figure 5.7.11 – Language Screen
5.7.11 Languages
The languages option allows the users to
customize the unit language for the local country
by loading preconfigured language files. This
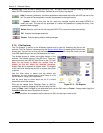
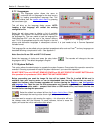
feature is entered from the system admin menu by pressing
the icon shown right.
This will bring up the language dialog screen. NOTE:
Loading a new language will unload the existing
configuration file.
Select the pull down menu to display a list of available
languages. The recorder will check the internal memory for
the language file. The user needs to load the language file
“MultiLanguage.CSV” onto the root of the internal memory
card. This is a spreadsheet style file with English in the first
column and alternative languages in subsequent columns. It is (and needs to be) in Comma Separated
Variable format.
This language file can be edited using a standard spreadsheet editor such as Excel
TM
and any language can
be added following a simple set of rules – See Appendix C
Note: Save the file as .CSV and NOT .XLS format.
Select the language of choice and press the okay button. The recorder will change to the new
language on the fly. The default language is English.
5.7.12 System ReFlash
This option allows the administrator to upgrade the system firmware. Once started this operation cannot be
reversed. Choosing to proceed will require a system reset even if you cancel the operation.
DO NOT RESET the unit, DO NOT REMOVE POWER and DO NOT PRESS THE ABORT BUTTON while
this operation is in process as it WILL MAKE THE UNIT INOPERABLE.
Before proceeding you need the image file that will be loaded. This file is called NK.bin and is
available from your service center or can be downloaded from the web. Ensure that you need to
update the firmware; often firmware upgrades will involve clearing the Registry, new configuration
and language files. Read the text file that accompanies any firmware upgrade release. Load the file
(NK.bin) onto removable media – compact flash drive or USB thumb drive, and insert this into the
recorder before starting this procedure.
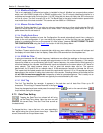
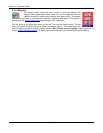
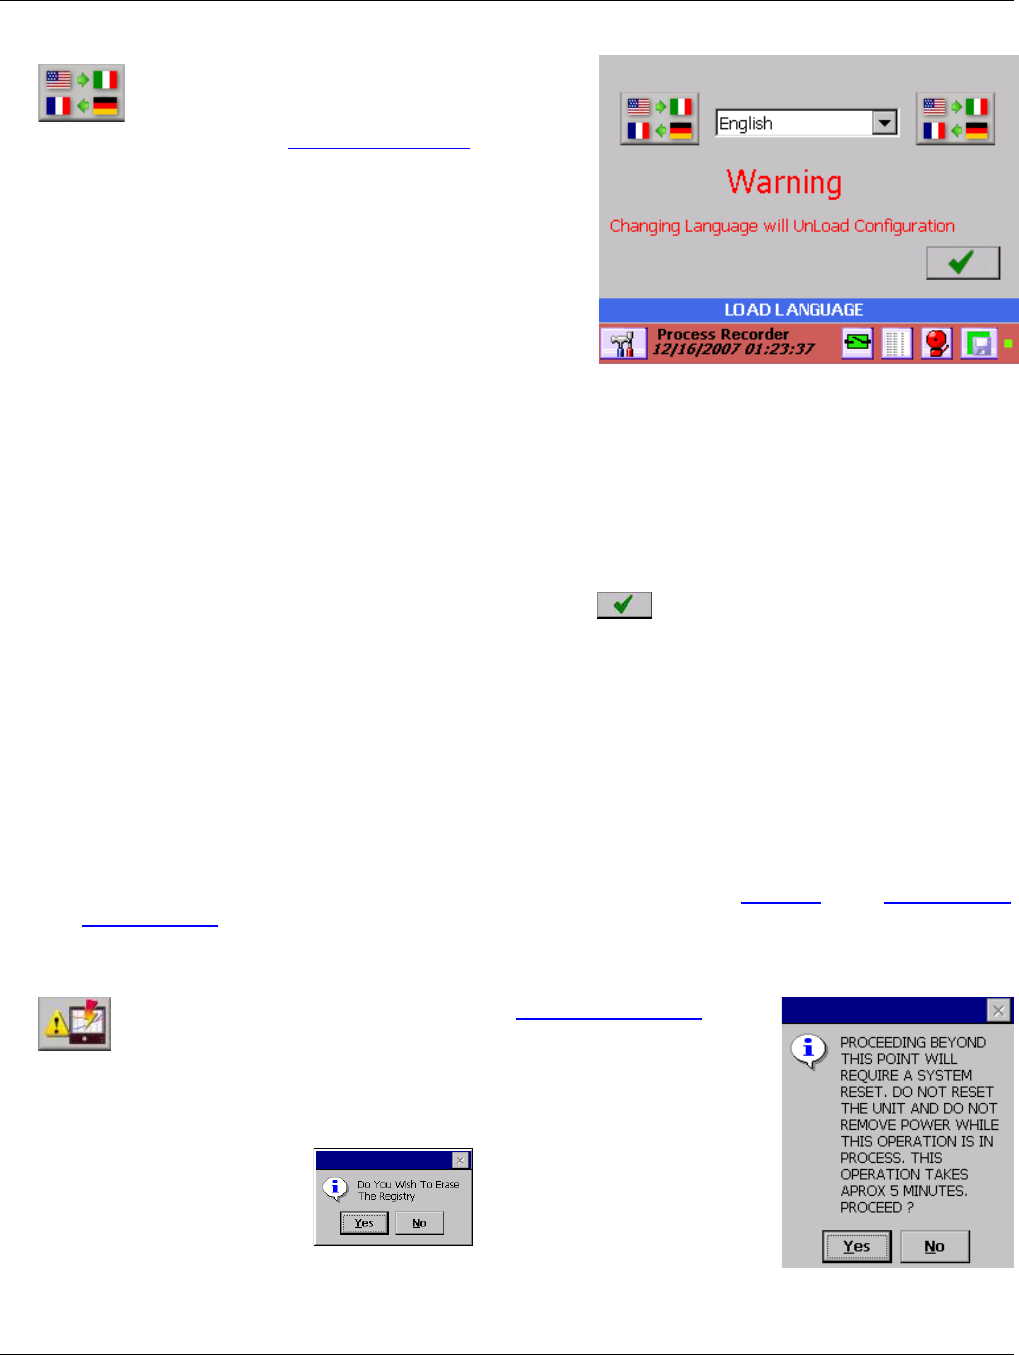
Select the reflash icon shown left from the System Admin Menu. Read
and accept the warning notice shown right and proceed with caution.
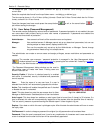
You then need to accept or skip erasing the registry – this information will be in
the release notes with the firmware. In some instances, failure to erase the
registry will cause the unit to malfunction after reflash.