Section 5 – Recorder Setup
Page 76 09/11/2008 REV 0.99
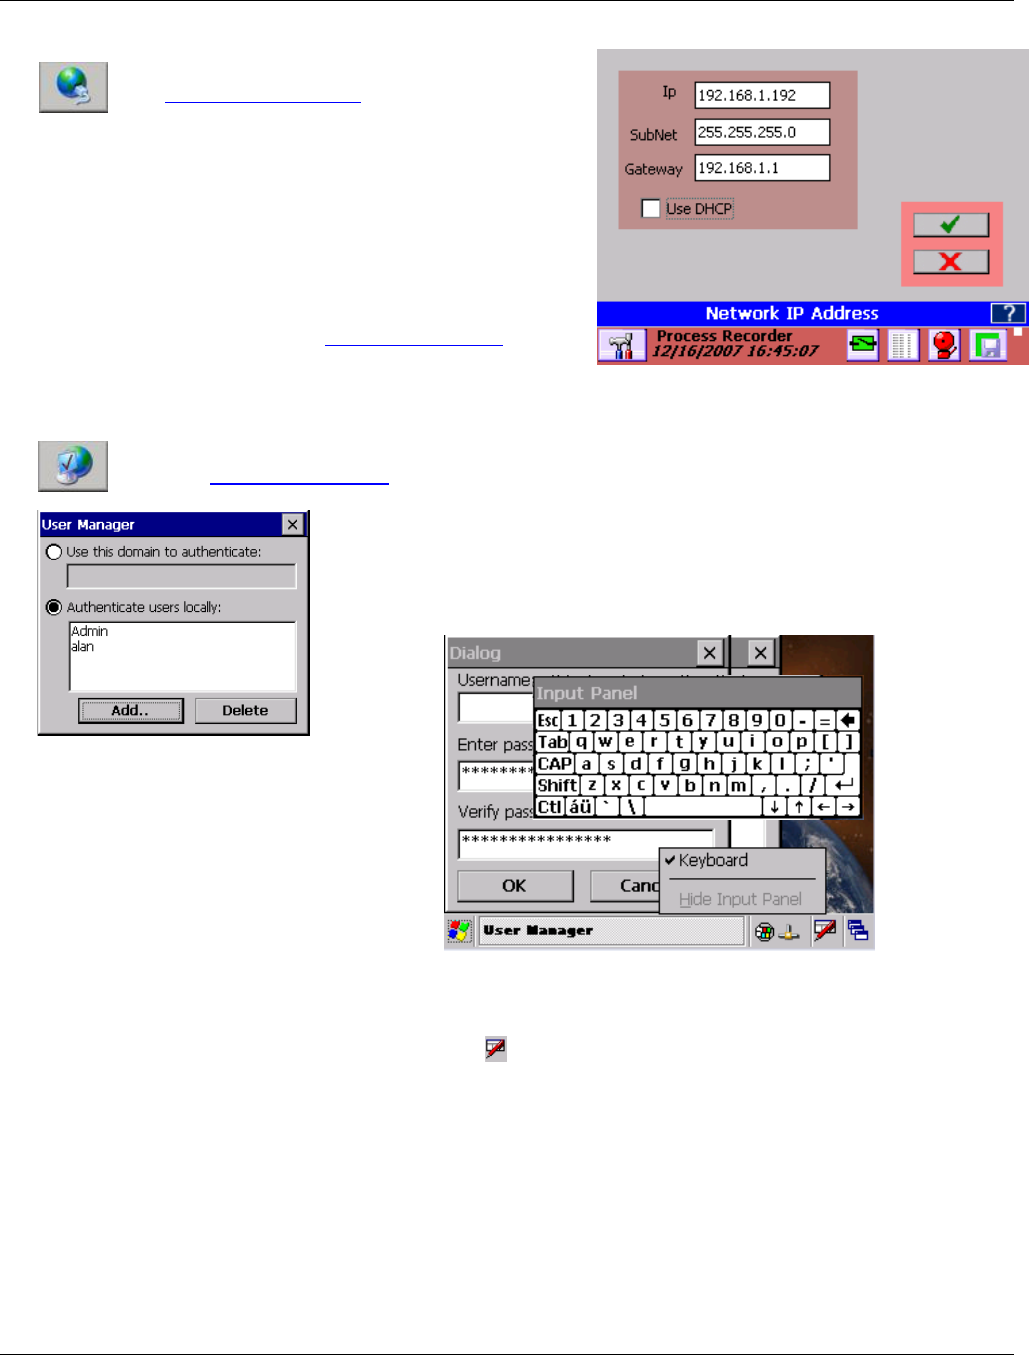
5.7.6 Network Settings
Tapping the Ethernet IP Address Setting icon in
the System Admin Menu (left) will bring up the
Network IP Address dialog window.
If you wish to specify an IP address, enter the information in
the IP, Subnet and Gateway text boxes. Check with your IT
person if you are unsure what to enter here.
Alternatively you can select the “Use DHCP” check box. This
allows the network server to automatically assign a free IP
address to the recorder.
The units actual IP address, whether user specified or server
assigned can be checked in the System Information window.
5.7.7 Web User Manager
This allows the administrator to add users for web access (via a browser). This feature is entered
from the system admin menu by pressing the icon shown right
The User Manager pop up dialog appears as shown left. As a minimum there
needs to be a user named Admin for remote administration. Add remote
users as needed by selecting “Authenticate users locally” and tapping the
Add button. This will pop up a Dialog box shown below where you can enter
Username and Passwords.
If there is no keypad it needs to be launched manually. Do this by tapping the very bottom of the screen which
will bring up the Task Bar. Tap the keypad icon
and then tap the Keyboard menu item as shown
above.
You will have to drag the keypad around (By dragging the Input Panel header area. Enter the user name and
password (repeat in Verify password) as requested and tap the OK button.
It is necessary to remove the keypad before exiting. Tap the bottom of the screen once more to bring up the
task bar. Tap the keypad icon then “Hide Input Panel”.
Due to the small screen size you will need to drag the keypad around to enable you to enter all the data
needed.
Once completed, exit the User Manager by tapping the [X] in the top right corner.
Fig 5.7.6 – Network IP Address
Fig 5.7.7 – Web User Admin


