88
Chapter 9Using Hands-free Phoning NAVI
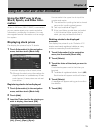
Editing the Phone Book data
You can edit the imported phone book data or
add new data. You can edit [Name], [Phone
number], or [Picture]. You can also delete
unnecessary data.
❒ The data cannot be transferred back to the
cellular phone.
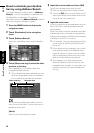
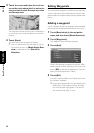
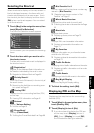
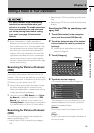
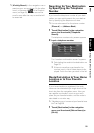
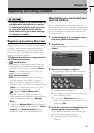
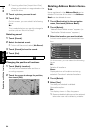
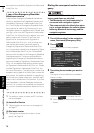
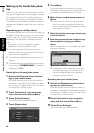
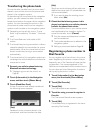
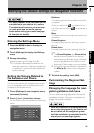
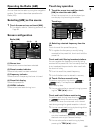
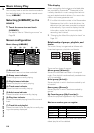
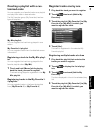
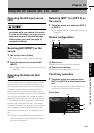
Adding new data
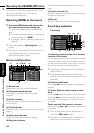
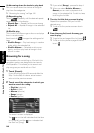
1 Touch [Information] in the Navigation
menu, and then touch [Phone Menu].
2 Touch [Phone Book].
3 Touch or [Add].
The edit screen appears.
❒ To add data by entering it as desired, touch
[Add].
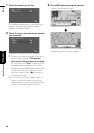
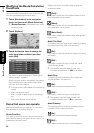
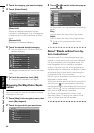
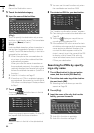
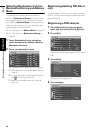
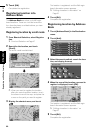
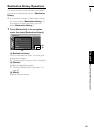
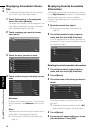
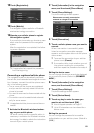
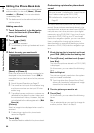
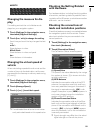
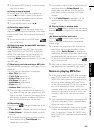
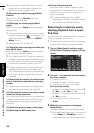
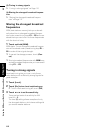
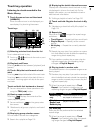
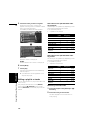
4 Select the entry you want to edit.
[Name] or [Phone #]:
Enter the name and the phone number to be
displayed in the phone book. Touch [OK] to
complete the input and return to the previous
screen.
➲ About Keypad Operation ➞ Page 27
❒ The name can be input 40 characters long
and phone number can be input 32 char-
acters long.
❒ The edited names and phone numbers are
reflected to the dialed number history and
the received call history. However, they are
not reflected to the data registered in [Dial
Favorite].
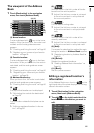
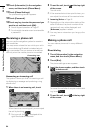
[Picture]:
Sets the image to be displayed when a call is
received.
➲ Customizing a picture for phone book
record ➞ Page 88
5 Touch [OK].
The selected data is added to the phone book.
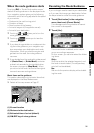
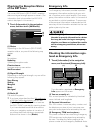
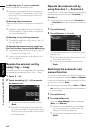
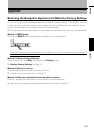
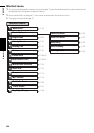
Customizing a picture for phone book
record
You can customize a picture for the phone book
record. Some pictures are already stored in the
hard disk drive, and you can also import JPEG for-
mat pictures, such as a picture on your digital
camera by using CD-R(-RW). If you burn the pic-
tures into a CD-R (-RW) by your PC and insert
that to the navigation system, you can use them.
Here, a method for changing the picture is
described with an example of loading a picture
stored on a CD-R (-RW) onto the navigation sys-
tem.
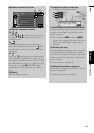
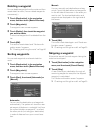
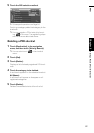
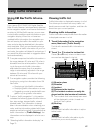
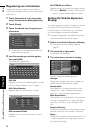
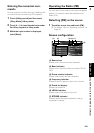
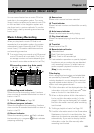
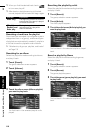
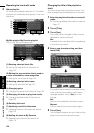
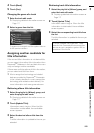
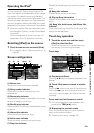
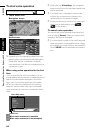
1 Check that no disc is inserted, and insert
your CD-R (-RW) to the disc loading slot.
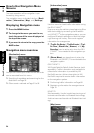
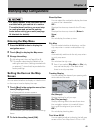
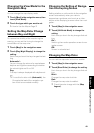
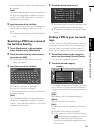
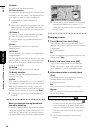
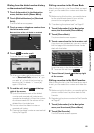
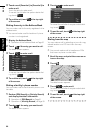
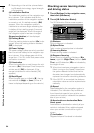
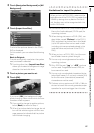
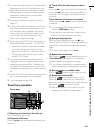
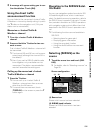
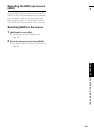
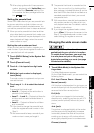
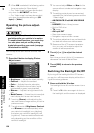
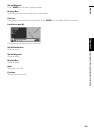
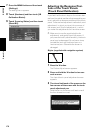
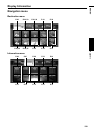
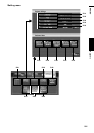
2 Touch [Picture], and then touch [Import
from Disc].
The list of the pictures stored in a CD-R (-RW)
is displayed.
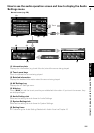
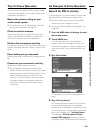
On this screen, you can select the following
item:
Back to Original:
The picture originally used when the system
was purchased is selected.
❒ Touching other than [Import from Disc]
allows you to select a background image
stored on the hard disk drive.
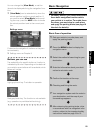
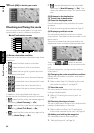
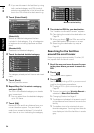
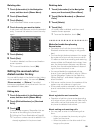
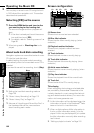
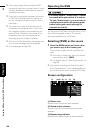
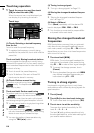
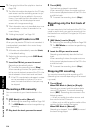
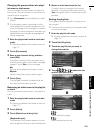
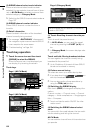
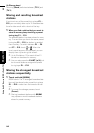
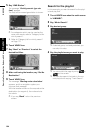
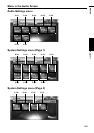
3 Touch a picture you want to set.
4 Touch [Yes].
On this screen, you can select the following
items:
No:
This is selected when you want to change to
another picture. Return to Step 3.
Be sure to read “Limitations for import the pic-
ture” before creating the CD-R (-RW).
➲“Limitations for import the picture” ➞
Page 97