


3.9 Hard Disk Test 3 Tests and Diagnostics
PORTEGE A100 Maintenance Manual (960-460) 3-25
3.9 Hard Disk Test
To execute the Hard Disk Test, select 8-HARD DISK TEST from the DIAGNOSTIC TEST
MENU, press Enter, and follow the directions on the screen. The hard disk test contains eight
subtests that test the hard disk drive functions.
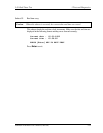
Caution: The contents of the hard disk will be erased when subtest 02, 03, 04, 06, 09or
10 is executed. Before running the test, the customer should transfer the
contents of the hard disk to another one by executing BACKUP.EXE or
others.
The following messages will appear after selecting the hard disk test from the DIAGNOSTIC TEST
MENU.
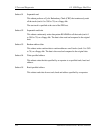
1. This message is used to select the error dump operation when a data compare error is
detected. Select yes or no.
Data compare error dump
1:No
2:Yes
2. This message is used to select whether or not the HDC status is displayed on the screen.
The HDC status is described in section 3.18. Select yes or no.
Detail status display 1:No
2:Yes
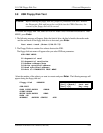
3. After setting is completed, select the number of the subtest and press Enter. The following
message will appear.
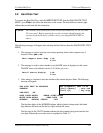
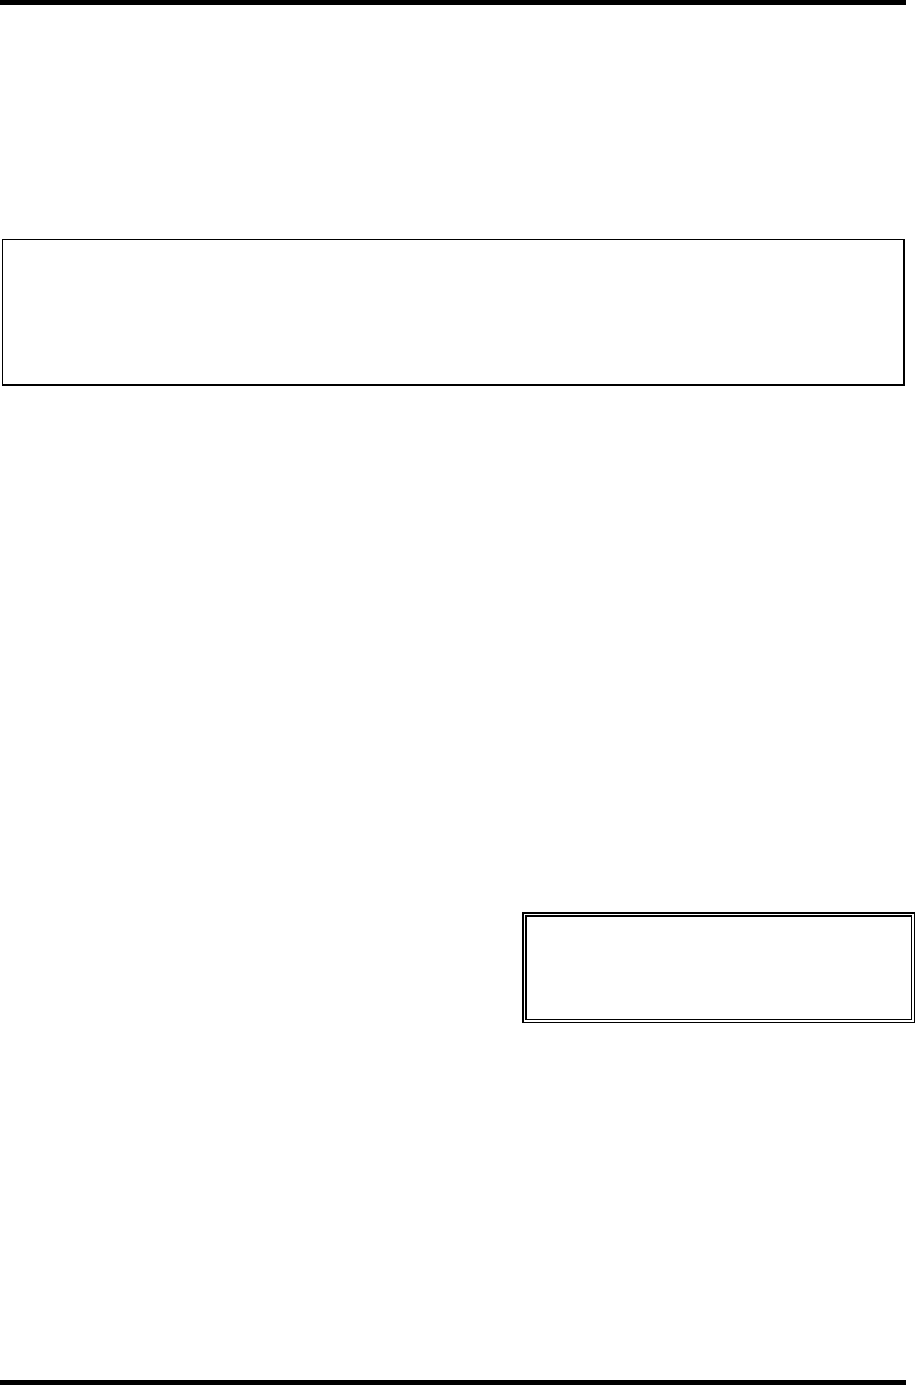
HDD DISK TEST IN PROGRESS
XXXXXXX
SUB-TEST :XX
xxx DIAGNOSTIC TEST VX.XX
[Ctrl]+[Break] ; test end
[Ctrl]+[C] ; key stop
PASS COUNT:XXXXX ERROR COUNT:XXXXX
WRITE DATA:XXXXX READ DATA :XX
ADDRESS :XXXXXX STATUS :XXX
The first three digits of the ADDRESS indicate which cylinder is being tested, the fourth
digit indicates the head and the last two digits indicate the sector.
The first digit of the STATUS number indicates the drive number being tested and the last
two digits indicate the error status code as explained in Table 3-2.