


Example 9: Viewing and adjusting an input audio level
NOTE: This procedure can only be performed if the audio/RS-232 wire pair of the input
is defined as audio (see ”Defining the Audio/RS-232 Wire Pair” on page 62).
Because of the different gain and attenuation display schemes, the input audio levels that
result from the following example are shown three times:
• As displayed on a 32-output button switcher
• As displayed on a on 16-output button switcher
• As displayed on a 8-output button switchers
The 32-button drawings show the actions that led up to the display. The 16-button and
8-button drawings show the gain or attenuation display only, not the actions that caused it.
In the following example, an audio level is viewed and adjusted. The steps show the front
panel indications that result from your action.
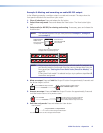
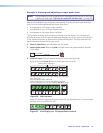
1. Clear all selections: Press and release the Esc button.
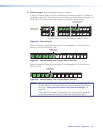
2. Select Audio mode: Press and hold the Audio button for approximately 2 seconds
until it blinks.
AUDIO
AUDIO
Press and hold.
2 seconds
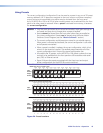
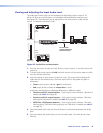
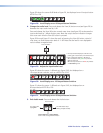
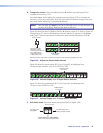
3. Select an input: Press and release the Input 5 button (see figure 26).
Figure 26 through figure 28 show an audio gain level of +8 dB.
1 2 3 4 5 6 7 8 15 16
17 18 19 20 21 22 23 24 31 32
1 2 3 4 5 6 7 8 5 16
17 18 19 20 21 22 23 24
2 1
32
I
N
P
U
T
S
O
U
T
P
U
T
S
Press the button. It lights green.
Each output button indicates 1 dB when lit.
When the buttons are lit green, then indicate a gain (+) audio level.
When the output buttons are lit red, they indicate an attenuation (-) level.
The output buttons display the audio level and polarity (gain or attenuation)
of the selected input.
Figure 26. Select an Input
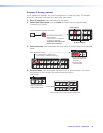
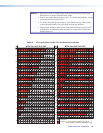
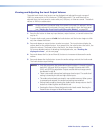
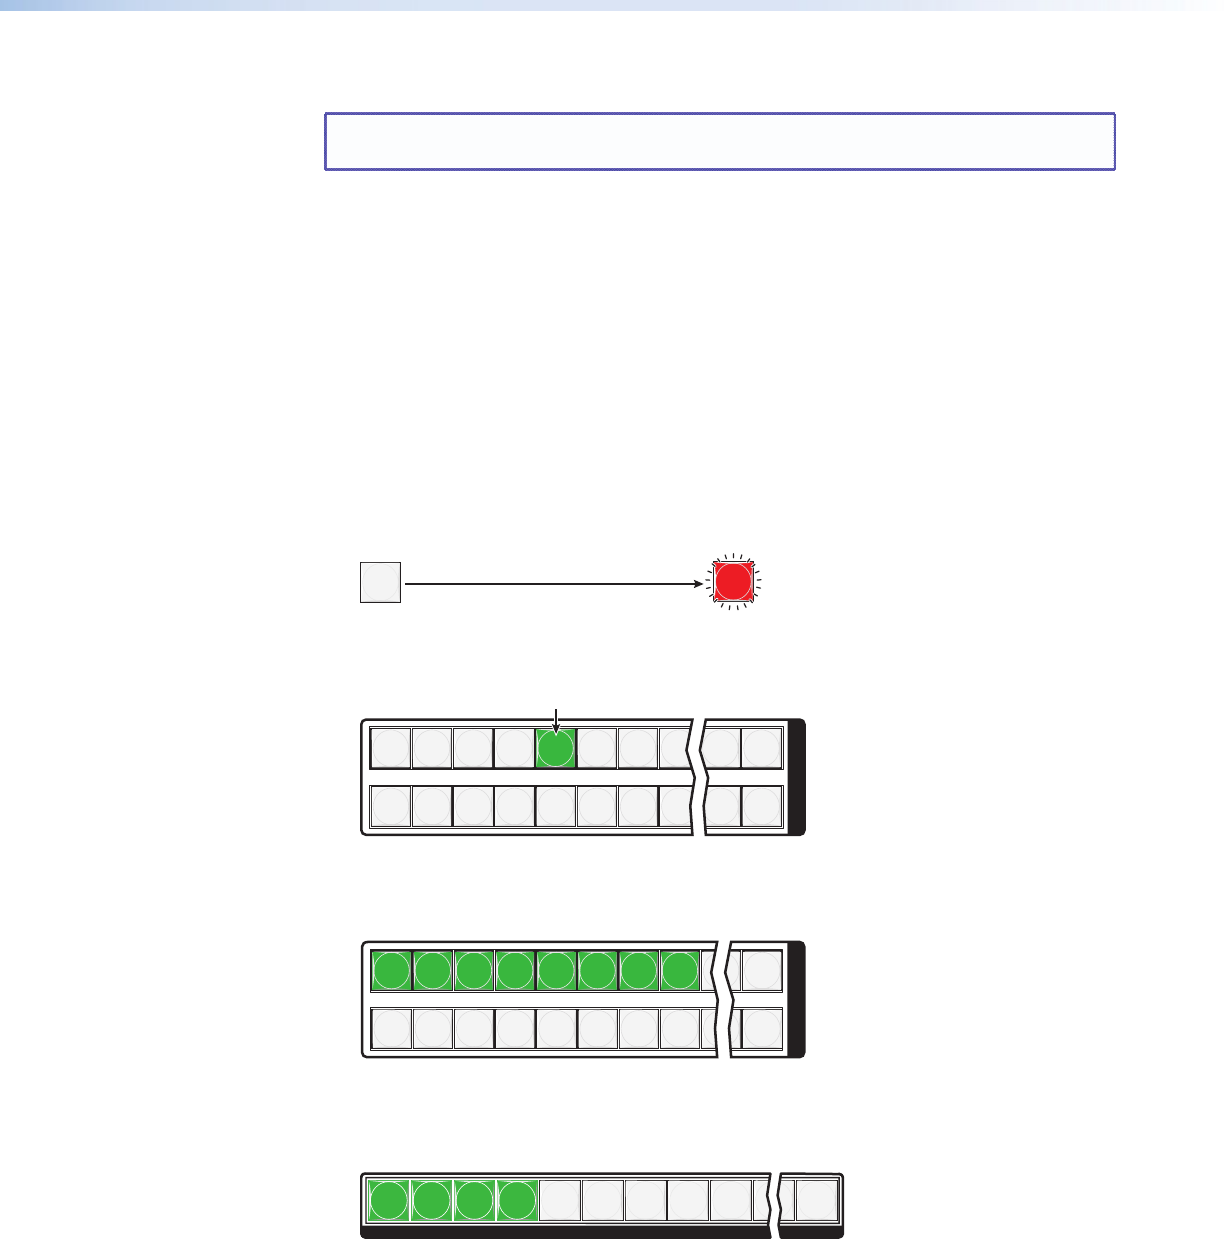
Figure 27 shows the same +8 dB level as figure 26, but displayed on a 16-output-button
switcher, such as an MTPX Plus 816.
1
2
3 4
5
6
7
8
9
15
16
OUTPUTS
Figure 27. Level Display on a 16-Output-Button Switcher
MTPX Plus Series • Operation 51