


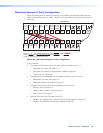
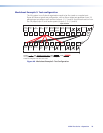
Rear Panel Operations
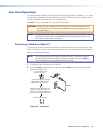
The rear panel has a Reset button that initiates four levels of resets (numbered 1, 3, 4, and 5
for the sake of comparison with an Extron IPL product). The Reset button is recessed, so use
a small screwdriver, a pointed stylus, or a ballpoint pen.
See table 7 on the next page for a summary of the modes.
CAUTION: Review the reset modes carefully. Using the wrong reset mode may result
in unintended loss of flash memory programming, port reassignment, or a
controller reboot.
NOTE: The reset modes listed on the next page close all open IP and Telnet connections
and close all sockets. Also, the following modes are separate functions, not a
continuation from Mode 1 to Mode 5.
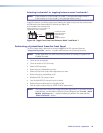
Performing a Hard Reset (Reset 1)
The hard reset function restores the switcher to the base firmware that it was shipped with.
After a hard reset, events do not automatically start, but user settings and files are restored.
Perform a hard reset as follows:
NOTE: The hard reset restores the factory-installed firmware. The switcher reverts
to that factory firmware the next time power is cycled off and on unless a
firmware update is performed before the power cycle.
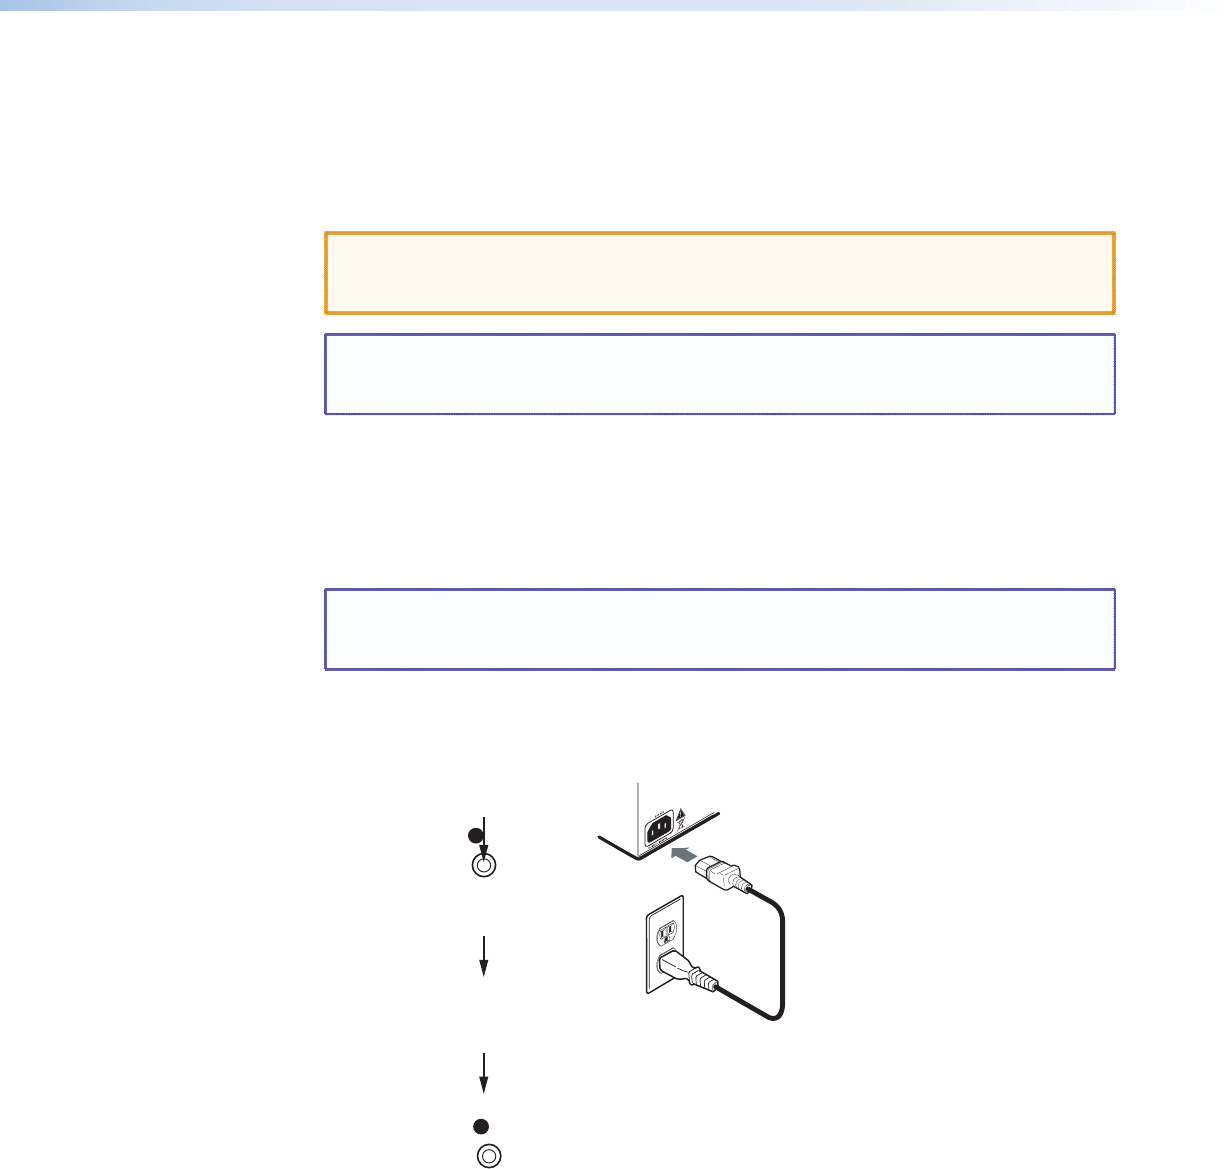
1. If necessary, turn off power to the switcher.
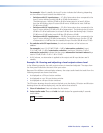
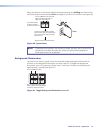
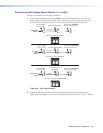
2. Press and hold the Reset button on the rear panel while you apply AC power to the
switcher (see figure 42).
Power
RESET
RESET
Press and hold the button
while you apply power.
Release the Reset button.
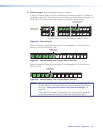
The switcher flashes the front panel
button indicators green, red, and
amber and then turns them off.
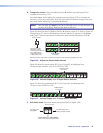
Continue to hold the Reset button until
all input and output buttons return to
either unlit or to background illumination
and the Video and Audio buttons turn on.
Figure 42. Hard Reset
MTPX Plus Series • Operation 64