8 If the error:
• Reappears, replace the black (or photo) print cartridge with a new one, close the cartridge carrier lid, and
close the scanner unit.
• Does not reappear, reinsert the color print cartridge, close the cartridge carrier lid, and close the scanner
unit.
9 If the error reappears, replace the color print cartridge with a new one, close the cartridge carrier lid, and close
the scanner unit.
Black Ink Low / Color Ink Low / Photo Ink Low
1 Check the indicated ink level or levels, and install a new print cartridge or cartridges if necessary.
To order supplies, see “Ordering paper and other supplies” on page 99.
2 Press to continue.
Clear Carrier Jam
Remove any obstructions
1 Raise the scanner unit.
2 Remove any objects blocking the path of the print cartridge carrier.
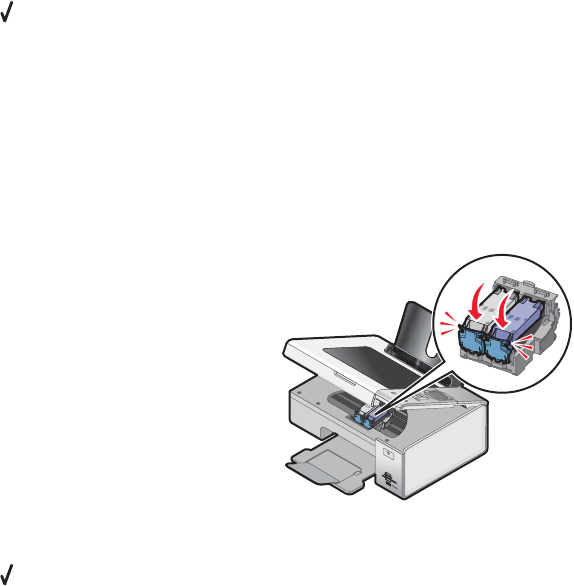
3 Make sure the cartridge carrier lids are closed.
W
F
II
P
R
I
N
T
I
N
G
4 Close the scanner unit.
5 Press .
Cover Open
Make sure that the scanner unit is closed.
Error 1104
1 Remove the print cartridges.
2 Reinstall the black cartridge or the photo cartridge in the left carrier.
3 Reinstall the color cartridge in the right carrier.
Invalid Device
The device attached to the printer is not supported.
Attach a supported device, or use other printer features.
148


