From here You can
Print Camera Selections Print Digital Print Order Format (DPOF) selections.
This option appears only when there is a valid DPOF file on your memory
device.
Printing photos from a PictBridge-enabled digital camera
PictBridge is a technology available in most digital cameras that lets you print directly from your digital camera without
using a computer. You can connect a PictBridge-enabled digital camera to the printer, and use the camera to control
printing photos.
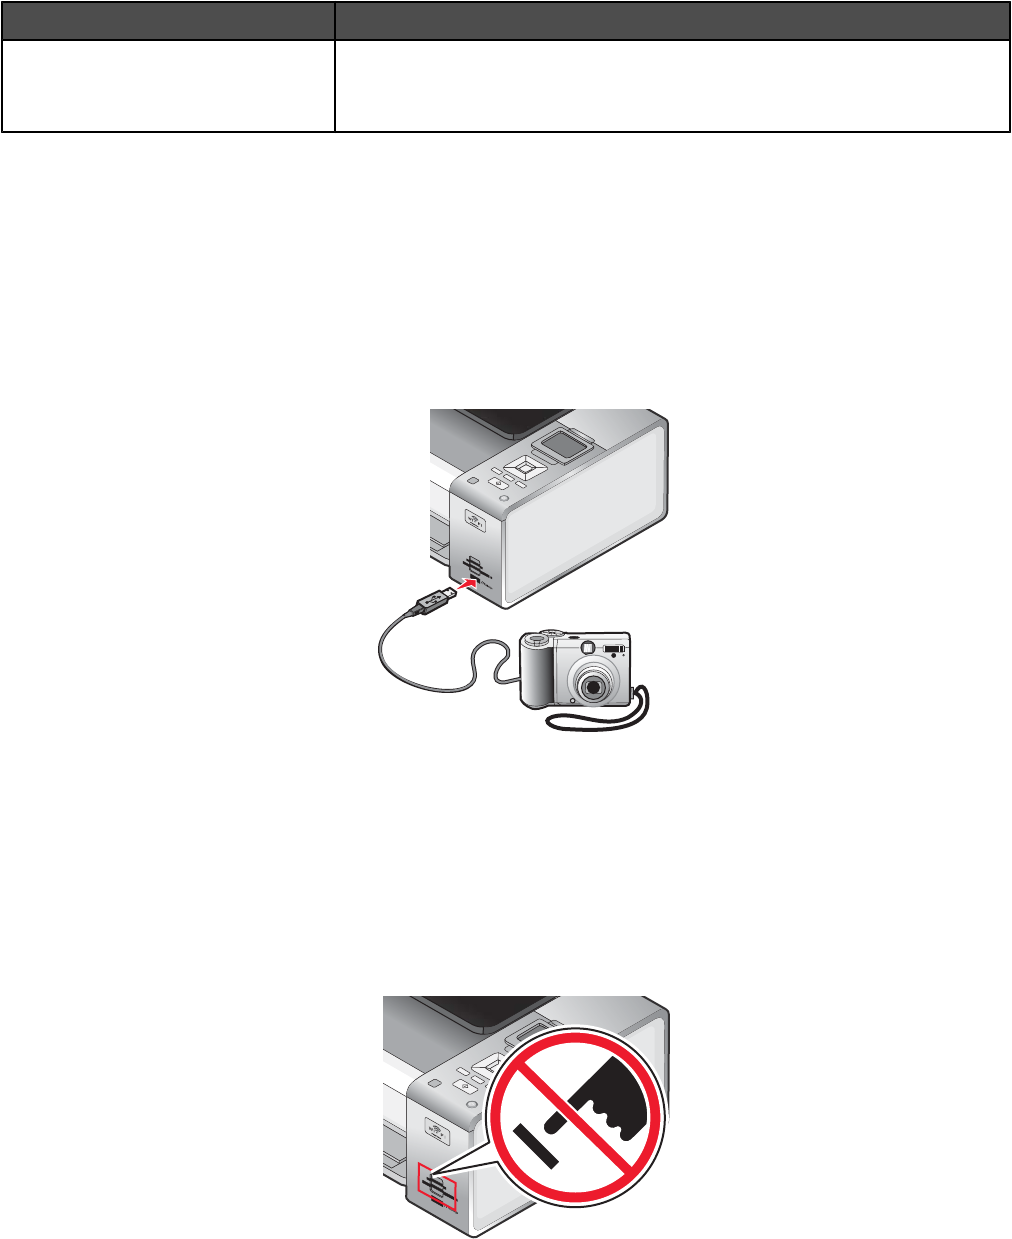
1 Insert one end of the USB cable into the camera.
Note: Use only the USB cable that came with the camera.
2 Insert the other end of the cable into the PictBridge port on the front of the printer.
Notes:
• Make sure the PictBridge-enabled digital camera is set to the correct USB mode. If the camera USB selection
is incorrect, the camera will be detected as a USB storage device, or an error message will be displayed on
the control panel of the printer. For more information, see the camera documentation.
• The printer reads only one media device at a time.
Warning: Do not touch the USB cable, any network adapter, or the printer in the area shown while actively
printing from a PictBridge-enabled digital camera. A loss of data can occur. Also, do not remove the USB cable
or network adapter while actively printing from a PictBridge-enabled digital camera.
59


