6 Press repeatedly until Lighter/Darker is highlighted.
7 Press or to adjust the brightness of the copy.
8 Press to preview the copy.
9 Press to continue adjusting the settings.
10 Repeat step 8 to step 9 as needed.
11 Press to save your settings temporarily.
12 Press .
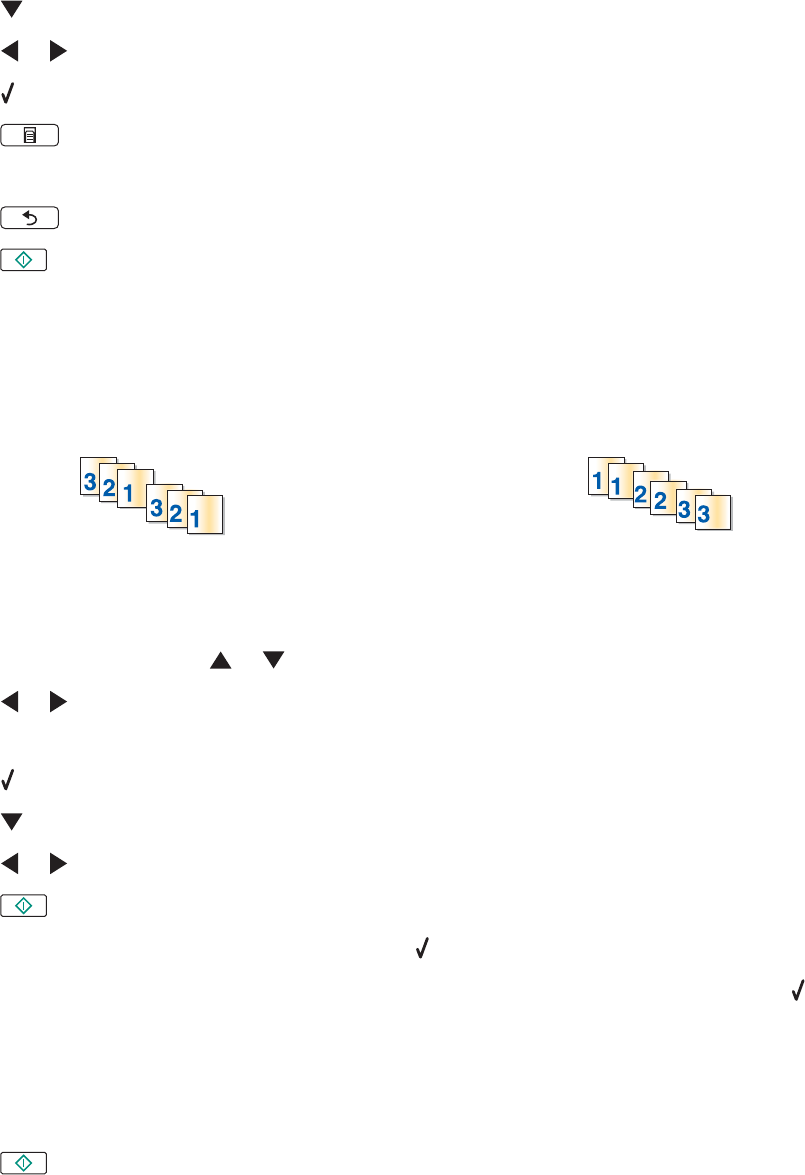
Collating copies using the control panel
If you print multiple copies of a document, you can choose to print each copy as a set (collated) or to print the copies
as groups of pages (not collated).
Collated Not collated
1 Load paper.
2 Load an original document facedown on the scanner glass.
3 From the control panel, press or repeatedly until Copy is highlighted.
4 Press or to select the number of copies.
The number of copies is automatically set to 1.
5 Press .
6 Press repeatedly until Collate is highlighted.
7 Press or to choose On.
8 Press to save the image of the page to the printer memory.
9 When asked if you want to copy another page, press to choose Yes.
10 Load the second page of the original document facedown on the scanner glass, and then press .
11 Repeat step 9 and step 10 until:
• All the pages you want to copy have been saved to the printer memory. (Proceed to step 12.)
• The memory has run out of space.
The printer automatically prints the copied pages. The last page copied is printed first.
12 Press to print the last page copied first.
80
