Printing
Printing basic documents
Printing a document
1 Load paper.
2 With a document open, click File Print.
3 Click Properties, Preferences, Options, or Setup.
4 Adjust the settings.
5 Click OK.
6 Click OK or Print.
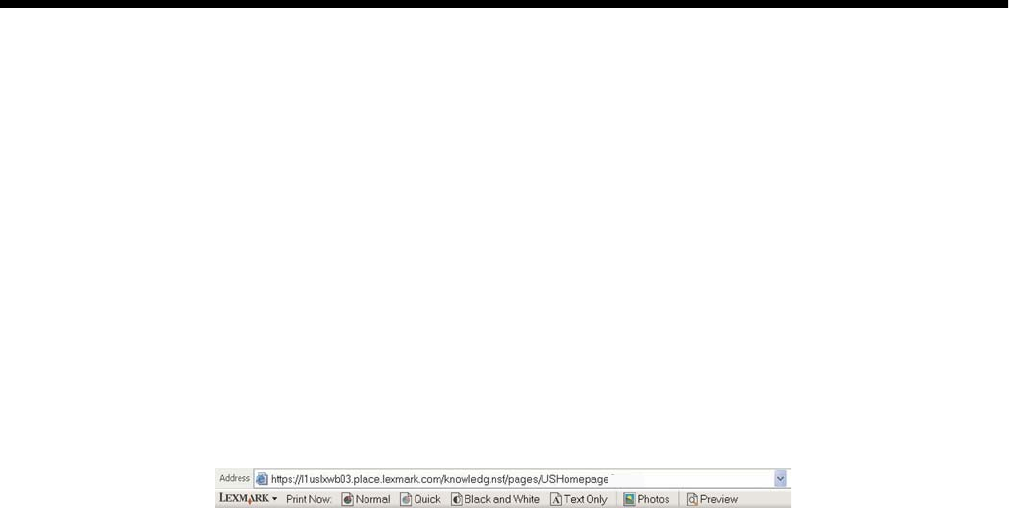
Printing a Web page
You can use the Toolbar to create a printer-friendly version of any Web page.
1 Load paper.
2 Open a Web page using Microsoft Internet Explorer 5.5 or later.
3 If you want to check or change your print settings:
a From the toolbar area, click Lexmark Page Setup.
b Adjust the print settings.
c Click OK.
4 If you want to view the Web page before printing:
a Click Preview.
b Use the toolbar options to scroll between pages, zoom in or out, or select whether to print text and images
or text only.
c Click:
• Print in the Print Preview window, then click Print in the Print dialog that opens
or
• Close, and continue to the next step.
5 If needed, select a print option from the Toolbar:
• Normal
• Quick
• Black and White
• Text Only
45


