3-122
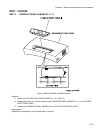
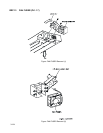
RRP1.2 COVER ASSY FRONT HEAD (PL1.1.2)
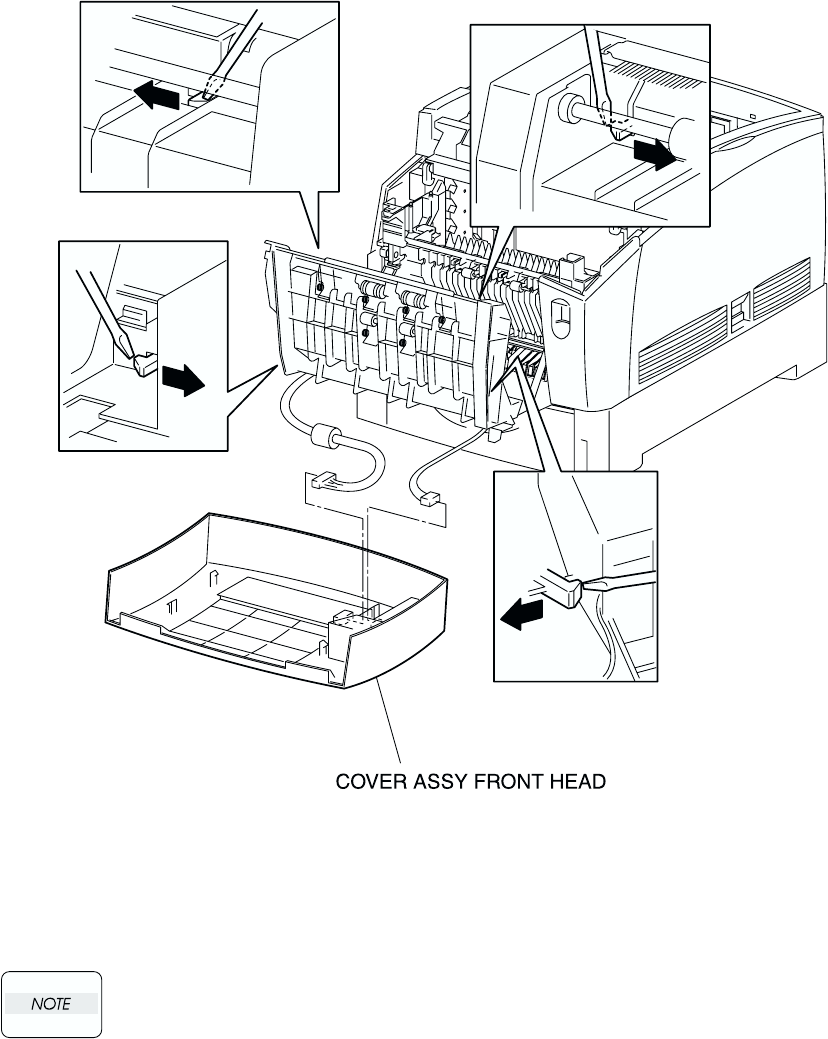
Figure: COVER ASSY FRONT HEAD Removal
Removal
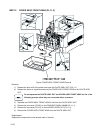
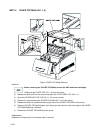
1) Release the latch at B of the printer and open the CHUTE ASSY OUT (PL6.1.1).
2) Release the hooks at 4 positions securing the COVER ASSY FRONT HEAD to the CHUTE ASSY
OUT.
Do not separate the CHUTE ASSY OUT and COVER ASSY FRONT HEAD too far in the
following process since they are connected with a connector.
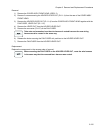
3) Separate the COVER ASSY FRONT HEAD a little from the CHUTE ASSY OUT.
4) Remove the connector (P/J220) on the CONSOLE PANEL HANABI (PL1.1.1).
5) Remove the connector (P/J137) on the HOLDER LEVER OUT (PL1.1.4).
6) Remove the COVER ASSY FRONT HEAD from the CHUTE ASSY OUT.
Replacement
Replace the components in the reverse order of removal.


