Chapter 3 Removal and Replacement Procedures
3-215
RRP8. BTR ASSY & FUSER
RRP8.1 FUSER ASSY (PL8.1.1)
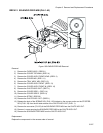
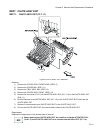
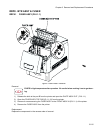
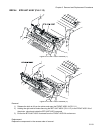
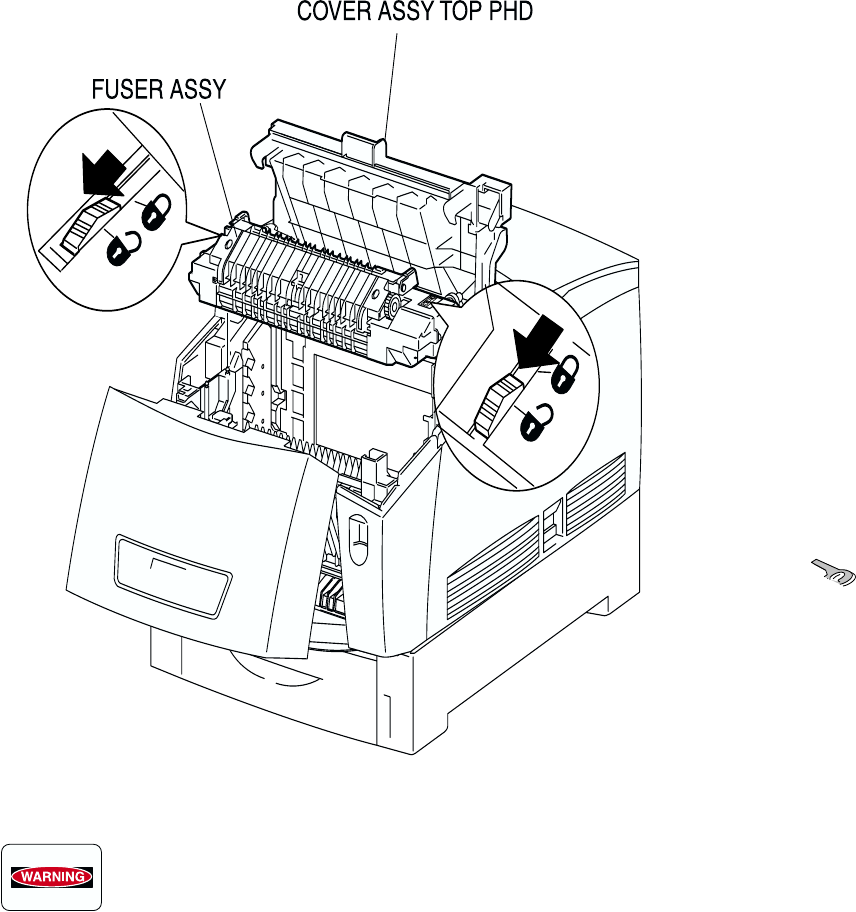
Figure: FUSER ASSY Removal
Removal
FUSER is high temperature after operation. Be careful when working it not to get burn-
ing.
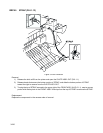
1) Release the latch at the part B from the printer and open the CHUTE ASSY OUT. ( PL6.1.1.)
2) Open the COVER ASSY TOP PHD (PL1.1.10) from the printer.
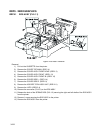
3) Remove 4 screws securing the FUSER ASSY to the FRONT ASSY IN (PL5.1.1) of the printer.
4) Remove the FUSER ASSY from the printer.
Replacement
Replace the components in the reverse order of removal.


