3-232
Removal
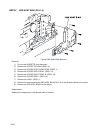
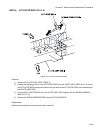
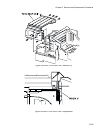
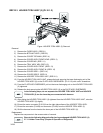
1) Remove the CHUTE ASSY REGI. (RRP9.3)
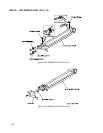
2) Remove an E-ring that secures the GEAR REGI METAL from the CHUTE ASSY REGI (PL9.1.6), and
pull out the GEAR REGI METAL of the left shaft of the ROLL REGI METAL.
3) Remove an E-ring that secures the GEAR REGI RUBBER from the CHUTE ASSY REGI, and pull out
the GEAR REGI RUBBER of the left shaft of the ROLL REGI RUBBER.
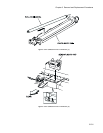
4) Pull out the BEARING EARTH that secures the left shaft of the ROLL REGI RUBBER on the CHUTE
ASSY REGI.
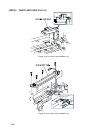
In the following steps, take care not to lose the SPRING REGI:R and SPRING REGI:L as
they will spring.
5) Remove the SPRING REGI:L from the right side of CHUTE ASSY REGI using a mini screwdriver.
6) From the left side surface of CHUTE ASSY REGI, remove a screw that secures the BRACKET ASSY.
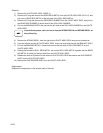
7) Pull out the BEARING METAL L (black) that secures the left shaft of ROLL REGI METAL on the
CHUTE ASSY REGI.
8) Raising the left shaft of ROLL REGI METAL, pull out the ROLL REGI METAL together with the BEAR-
ING METAL R (white) on the right shaft from the CHUTE ASSY REGI.
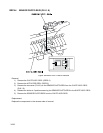
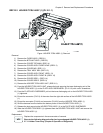
9) Release the hook at 2 position on the bottom of CHUTE ASSY REGI that secure the OHP SENSOR
ASSY from the CHUTE ASSY REGI.
10) Remove the OHP SENSOR ASSY from the CHUTE ASSY REGI.
Replacement
Replace the components in the reverse order of removal.


