3-174
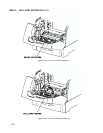
RRP3.20 ROLL ASSY TURN (PL3.3.19)
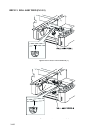
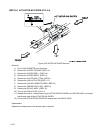
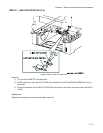
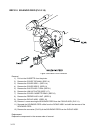
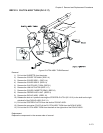
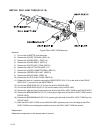
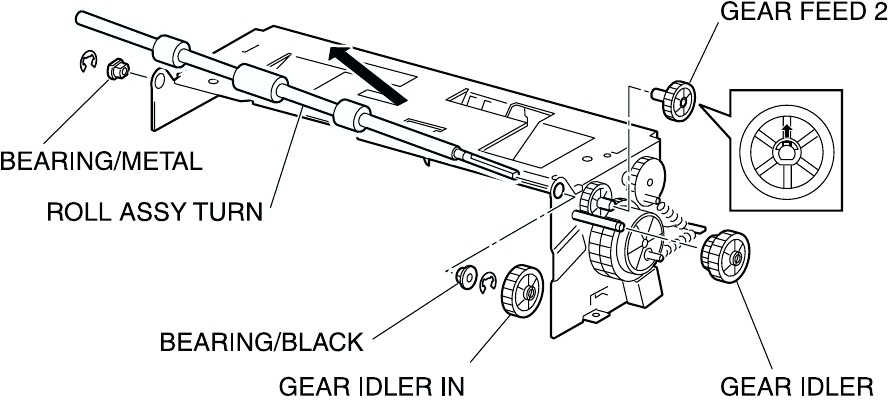
Figure: ROLL ASSY TURN Removal
Removal
1) Pull out the CASSETTE from the printer.
2) Remove the COVER TOP MAIN. (RRP1.4)
3) Remove the COVER SIDE L. (RRP1.14)
4) Remove the COVER SIDE R. (RRP1.9)
5) Remove the CHUTE ASSY TURN. (RRP3.1)
6) Remove the LINK ACTUATOR (RRP 3.17).
7) Remove the COVER CASSETTE REAR. (RRP3.2)
8) Remove the FEEDER ASSY UNIT. (RRP3.3)
9) Remove the PICKUP ASSY. (RRP3.12)
10) Remove the CLUTCH ASSY TURN. (RRP3.19)
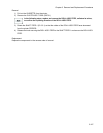
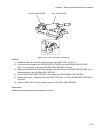
11) Release the hook at 1 position securing the GEAR FEED 2 (PL3.3.12) to the shaft of the PICKUP
ASSY (PL3.3.1) and pull out the GEAR FEED 2.
12) Pull out the GEAR IDLER (PL3.3.15) from the shaft of PICKUP ASSY.
13) Pull out the GEAR IDLER IN (PL3.3.19) from the shaft of the PICKUP ASSY.
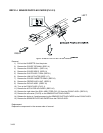
14) Remove the right and left E rings securing the shaft of the ROLL ASSY TURN to the PICKUP ASSY.
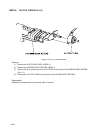
15) Remove the BEARING/METAL (PL3.3.7) securing the right shaft of the ROLL ASSY TURN from the
PICKUP ASSY.
16) Remove the BEARING/BLACK (PL3.3.21) securing the left shaft of the ROLL ASSY TURN from the
PICKUP ASSY.
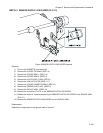
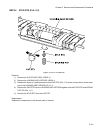
17) Slide the ROLL ASSY TURN from the PICKUP ASSY rightward, pull out the left edge of the ROLL
ASSY TURN from the bearing bore and then pull out the ROLL ASSY TURN left upward.
Replacement
Replace the components in the reverse order of removal.


