Chapter 3 Removal and Replacement Procedures
3-247
Removal
1) Remove the COVER TOP MAIN. (RRP1.4)
2) Remove the COVER ASSY FRONT HEAD. (RRP1.2)
3) Remove the COVER MSI. (RRP1.11)
4) Remove the TRAY ASSY MSI. (RRP1.12)
5) Remove the COVER ASSY FRONT. (RRP1.13)
6) Remove the COVER ASSY FRONT IN. (RRP1.10)
7) Remove the COVER SIDE L. (RRP1.14)
8) Remove the COVER ASSY TOP PHD. (RRP1.5)
9) Remove the LINK:L. (RRP1.7)
10) Remove the HSG ASSY BIAS. (RRP9.2)
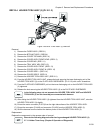
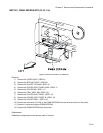
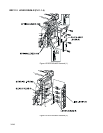
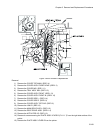
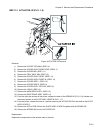
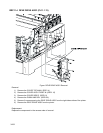
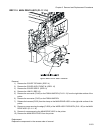
11) Remove 4 screws securing the PLATE ASSY LEVER L (PL11.1.1) from the left side surface of the
printer.
12) Remove the PLATE ASSY LEVER L from the printer.
13) Release the hook of the SPRING LEVER 30N (PL11.1.5) hitched over the convex portion of the 4
LEVER DRUM from the left side surface of the printer.
14) Remove the LINK LEVER: L (PL11.1.3) from the printer together with the SPRING LEVER:30N
15) Remove the LEVER DRUM:L from the printer.
Replacement
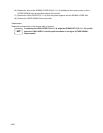
Replace the components in the reverse order of removal.
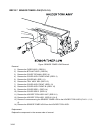
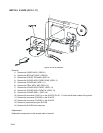
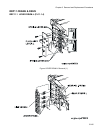
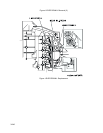
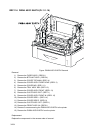
In replacing the LINK LEVER (PL11.1.3), align the SPRING IDT L (PL11.1.17) and the
bottom of LINK LEVER L with the positions shown in the figure (LEVER DRUM:L
Replacement).


