Polycom RMX 1000 User Guide
7-3
Adding a Reservation
To reserve a conference:
• Under the calendar view, click the
button on the pane, or right-click
at the blank area besides the selected calendar date and time, and then
click New Reservation.
• Under the list view, click the
button on the reservation list pane, or
right-click at the blank area, and then click New Reservation.
On the New Reservation interface, you can set the basic conference
information, participants, reservation time, and other related
information. The procedures for setting the General, Participants and
Information tabs are the same as those for setting a meeting room. For
explanation on the configuration parameters, see Creating a Meeting
Room.
To set a reservation, click the Schedule tab to enter the reservation interface.
From the Schedule Mode drop-down menu, select the desired reservation
mode to reserve a once, daily, weekly, or monthly conference.
Reserving a One-Time Conference
A one-time reservation indicates that the reservation is only valid for one
occurrence and will automatically be deleted after the conference ends. To
reserve a one-time conference, select one of the following Schedule modes:
• Permanent: The reserved conference, after being started, will not be
terminated until it is manually terminated or deleted by a chairperson or
web UI user. This option can be selected if you cannot estimate the
duration of the conference in advance.
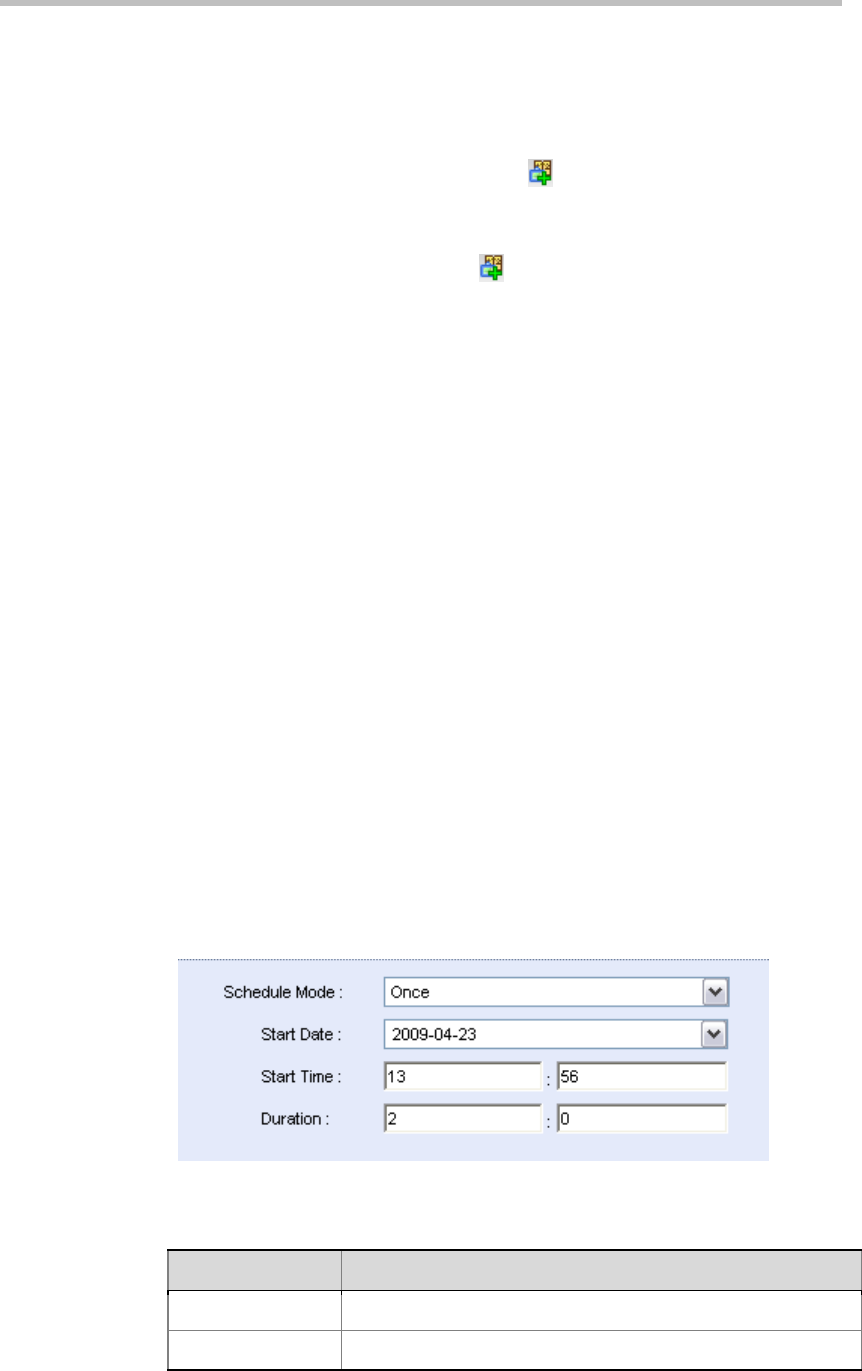
• Once: The reserved conference, after being convened, will terminate at
the specified time.
For either of the above modes, you need to set the Start Time of the reserved
conference. In addition, for the Once mode, you need to set the duration of
the reserved conference.
Figure 7-3 Reservation Setup - Once
Table 7-1 Parameter Description for Reservation Setup – Once
Parameter Description
Start Date Set the start date of the conference.
Start Time Set the start time of the conference in the format of H:M.


