Chapter 4 Maintaining the Sun Fire X2250 Server 4-43
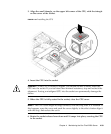
7. Rotate the socket release lever down until it snaps into place, securing the CPU
in the socket.
8. Inspect the heatsink for dust and lint. Clean if necessary.
9. Carefully position the heatsink on the CPU, aligning it with the mounting posts
to reduce movement after it makes initial contact with the layer of thermal
grease.
Caution – If the heatsink is moved too much during its installation, the layer of
thermal grease may become uneven, leading to component damage.
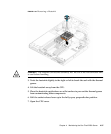
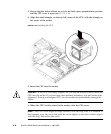
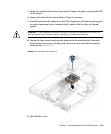
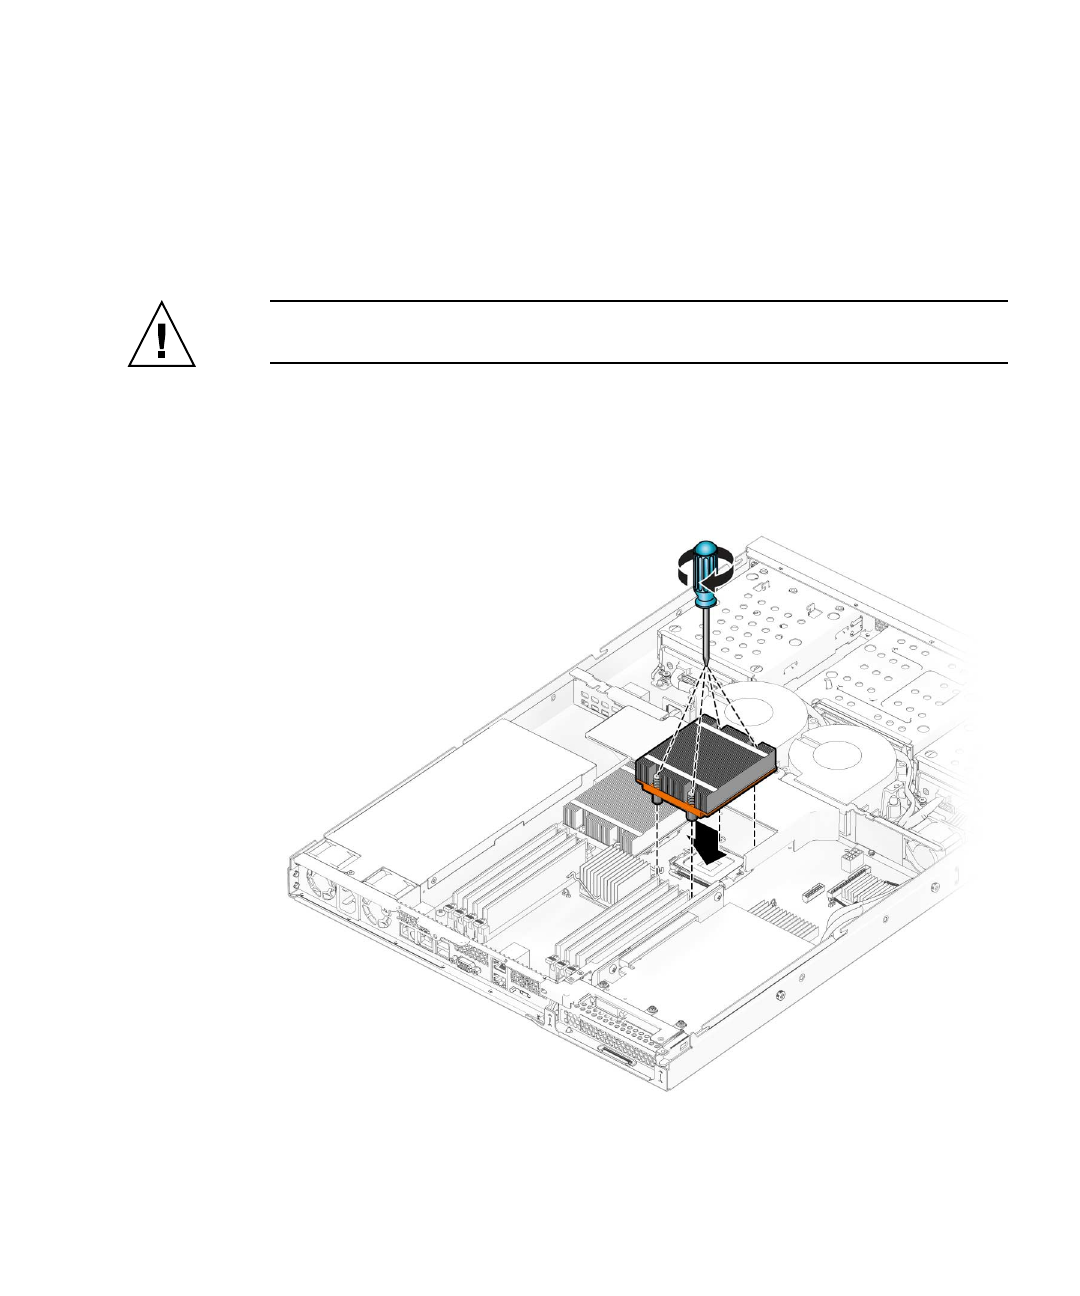
10. Fasten the four screws attaching the heatsink to the motherboard. Alternate
between the four screws, turning each screw two turns until all are securely
fastened. See
FIGURE 4-37.
FIGURE 4-37 Installing the Heatsink
11. Reinstall the cover.


