Diagnostic information 2-105
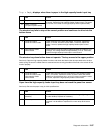
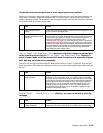
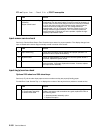
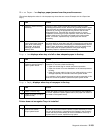
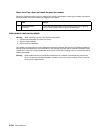
Main drive service check
Service tip: Excessive gear or main drive assembly noise is usually caused by a defective motor assembly or
system board.
Warning: Whenever the gearbox assembly is removed from the machine it must be handled very carefully. Do
not allow any of the gears to come in contact with any metal or other hard surface to avoid gear
damage. It is also very important not to let any dirt, paper, staples, or other material come intact
with the grease in the gearbox assembly.
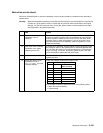
FRU Action
1 Main drive assembly
(excessive noise or
vibration)
Remove the controller board and run a Diagnostic Print Test in the
continuous mode. Check the main drive assembly for any excessive
noise or vibration. Determine if the noise is in the main drive, toner
cartridge, fuser, or main drive gearbox. Look for any loose or worn
parts in the developer drive assembly, main drive gearbox, or fuser.
Repair as necessary.
2
Main drive motor assembly
(excessive noise, gears
ratcheting and so on)
A service error code 936 - Transport Motor may be displayed. Check
the voltage at J20-6 on the system board. It measures approximately
+5 V dc when the motor is not running and goes to 0 V dc when the
motor is running. If incorrect, replace the system board. If this does
not fix the problem, replace the main drive motor.
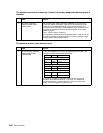
3
Main drive motor cable Check the continuity of the main drive motor cable. If incorrect,
replace the cable.
4
Motor gear does not turn,
no 936 error code or
201.xx Paper Jam user
message displays.
Check the voltages at J20 on the system board.
If the voltage is incorrect, replace the FRUs in the following order:
• Main drive motor assembly
• System board
Pin Voltage
Static When main drive
motor is running
J20-11 +24 V dc
J20-8 +5Vdc 0Vdc
J20-7 +5Vdc 0Vdc
J20-6 +5 V dc +2.5 V dc
J20-5 +5Vdc 0Vdc
J20-4 +5 V dc +5 V dc
J20-1 +5Vdc 0Vdc


