


Diagnostic information 2-115
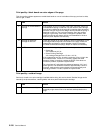
The printer does not recognize the paper size selected
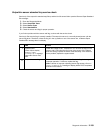
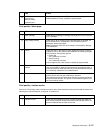
FRU Action
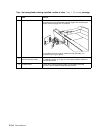
1 Back restraint
Side restraint
Snap-in plate
Autosize slider
Autosize finger
Check all the paper size parts for damage or broken parts. make sure
the parts operate correctly. If a problem is found, repair as necessary.
If no problem is found, go to step 2.
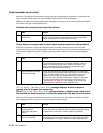
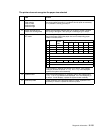
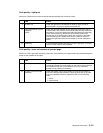
2
Switch activate spring
Paper size sending board
Make sure the switch activate spring is not bent or broken. Replace
the spring if damaged. If the spring is not damaged, go to step 3.
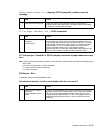
3
System board
ITC cable
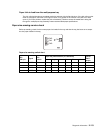
Set the tray for the paper size that is not recognized and install the
tray in the printer. Select the paper size and corresponding paper
switch from table, below.
If the voltage on J26 does not change, go to step 4. If the voltage
changes, recheck the printer. If Tray 1Missing is still displayed,
replace the system board assembly.
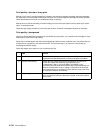
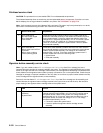
4
System board Ground the appropriate pin on connector J26 on the system board.
Tray 1 Missing should not be displayed. If it is not displayed, go
to step 5. If it still displays, replace the system board assembly.
5
Autocomp cable Check continuity of the autocomp cable. If correct, replace the ITC
assembly. If incorrect, replace the autocomp cable.
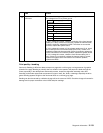
Pin
J26
Signal Static
tray out
(V dc)
Static with paper tray in and set to: (V dc)
Letter Legal A4 Exec B5 A5
1 PSIZE2 +3.3 0 0 +3.3 +3.3 0 +3.3
2Ground 0 0 0 0 0 0 0
3 PSIZE1 +3.3 +3.3 +3.3 0 0 0 +3.3
4 PSIZE3 +3.3 0 +3.3 +3.3 0 +3.3 0
5N/A
6N/A
7N/A
8 +3.3 +3.3 +3.3 +3.3 +3.3 +3.3 +3.3 +3.3
9N/A
10 N/A