3-2 Service Manual
Diagnostics mode
Entering Diagnostics mode
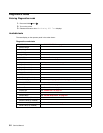
1. Press and hold and .
2. Turn on the printer.
3. Release the buttons when Performing Self Test displays.
Available tests
The tests display on the operator panel in the order shown:
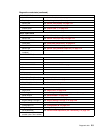
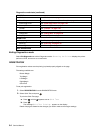
Diagnostics mode tests
REGISTRATION See “REGISTRATION” on page 3-4
Bottom Margin
Top Margin
Left Margin
Right Margin
Quick Test See “Quick Test” on page 3-5
PRINT TESTS
Tray 1 See “Input source tests” on page 3-6
Tray 2 (if installed)
Tray 3 (if installed)
Tray 4 (if installed)
Tray 5 (if installed)
MP Feeder
Env Feeder (if installed)
Prt Quality Pgs See “Print quality pages (Prt Quality Pgs)” on page 3-6
HARDWARE TESTS
Panel Test See “Panel Test” on page 3-7
Button Test See “Button Test” on page 3-7
DRAM Test See “DRAM Test” on page 3-7
CACHE Test
Parallel Wrap See “Parallel Wrap tests” on page 3-8
Parallel 1 Wrap (if installed)
Parallel 2 Wrap (if installed)
Serial 1 Wrap (if installed) See “Serial Wrap tests” on page 3-9
Serial 2 Wrap (if installed)


