


Section 4 Novell NetWare Network Configuration
PocketPro 100S Administrator’s Guide -- Document #40165-110 Rev. A 4-25
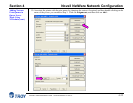
Adding NetWare
Print Queues in
Queue Server
Mode Using
NWAdmin (cont.)
Configuring the
Print Server and
Print Queue in
Queue Server
Mode Using
PCONSOLE and
XCONFIG
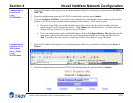
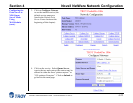
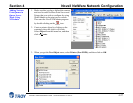
4. Create a print server object:
Click on the container where the object will reside.
Select Object from the menu bar, and then click on Create.
When you get the New Object menu, select Print Server, and then click on OK.
Enter the name of the TROY print server (default is TWC_xxxxxx_P1), and select Create. Use the
default print server name (the default names are listed under Default Print Server Names at the
beginning of this chapter) unless you specifically changed it with ExtendView, XAdmin 32, or print
server console.
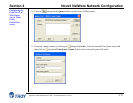
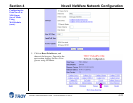
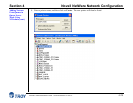
5. Associate the printer with the print queue:
Change context if required, and then double-click on the name of the printer you created in Step 3.
Click on Assignments, and then click on Add...
Change context if necessary, and then select the print queue you created in Step 4. Click OK, and
then click on OK again.
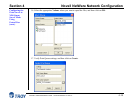
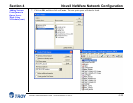
6. Associate the print server with the printer:
Change the context if required, and then double-click on the name of the print server you created in
Step 5.
Click on Assignments, and then click on Add...
Change the context if necessary, and then select the printer created in Step 3. Click OK, and then
click on OK again.
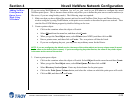
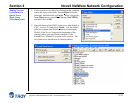
7. Exit NWAdmin. You are now ready to use the print queue from a NetWare workstation.
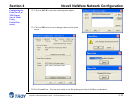
As an alternative to HP JetAdmin, you can use the standard Novell PCONSOLE utility in conjunction with
TROY's XCONFIG program to set up your print queues (if desired, you may use TELNET instead of the
XCONFIG utility). The procedure is basically as follows:
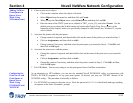
1. Use XCONFIG to connect to the print server. Enter the password (ACCESS is the default) and type anything
in response to the Enter Username> prompt.