Protocol Settings
3-10
3
Using a TCP/IP Network
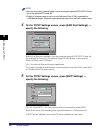
Pressing [Off] for [Use HTTP] automatically sets [Remote UI] (in the System
Settings screen) and [IPP Print Settings] to 'Off'.
11
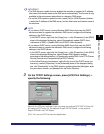
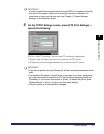
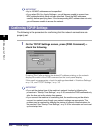
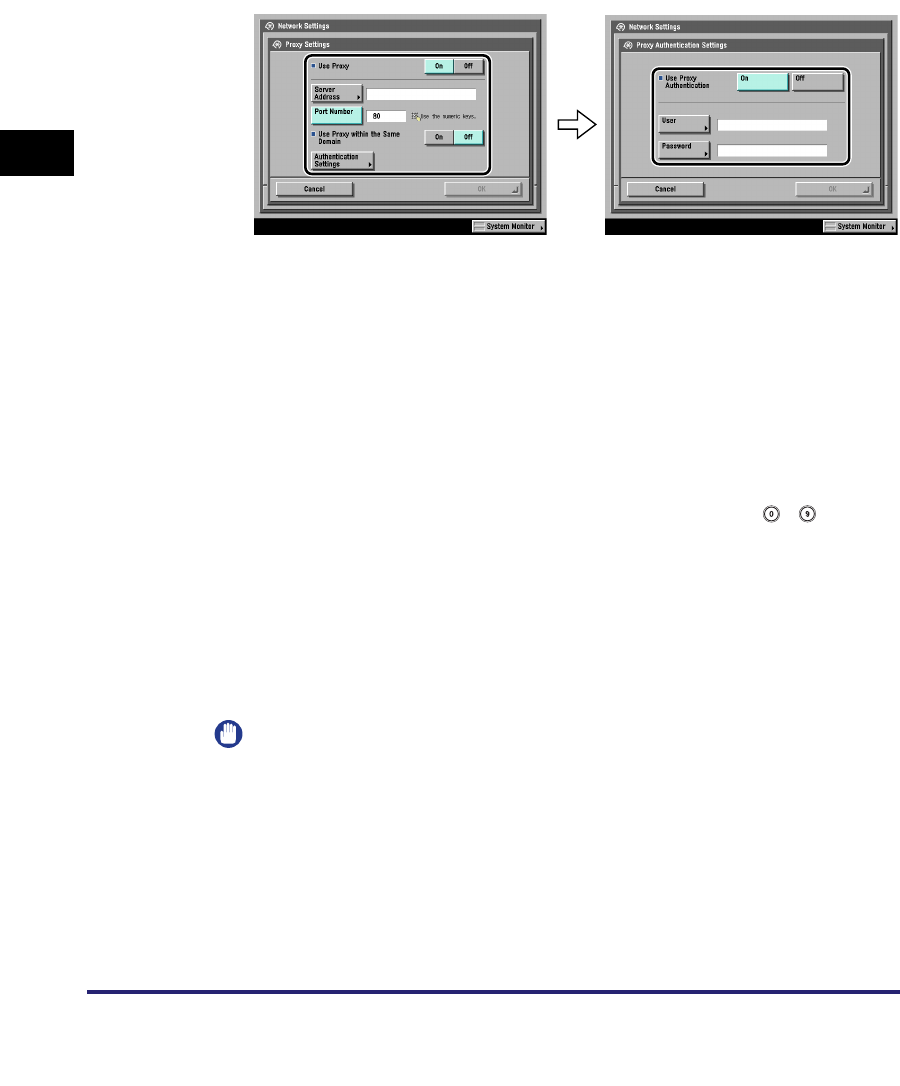
On the TCP/IP Settings screen, press [Proxy Settings] ➞
specify the following.
In the following cases, specify the proxy settings, according to the network
environment you are using:
• If you are using the optional PS Printer Kit
• If you are using the optional Web Access Software (The Web Access Software
is optional software for viewing web pages on the touch panel display of the
machine. For details, see the
Web Access Software User's Guide
.)
• If you connect the WebDAV client to the Internet via a proxy, when using a
WebDAV server
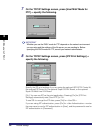
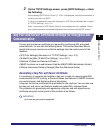
In [Server Address], enter a proxy server IP address or FQDN (for example,
starfish.company.com).
In [Port Number], enter the port number of a proxy server using - (numeric
keys).
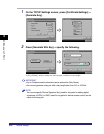
If you want to use a proxy in the same domain, press [On] for <Use Proxy within
the Same Domain>.
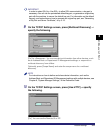
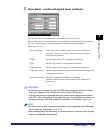
If you want to use proxy authentication, press [Authentication Settings] ➞ [On] for
<Use Proxy Authentication> ➞ enter the user name to use for proxy
authentication in [User], and the password to use for proxy authentication in
[Password].
IMPORTANT
If the the optional PS Printer Kit is activated, you can print a file in the PDF or PS
format by specifying its URL using the Remote UI. To print a file by specifying its
URL using the Remote UI, you need to specify the proxy settings suitable for your
environment. (Set in this step.)


