


16-16
Cisco ASA 5500 Series Configuration Guide using ASDM
Chapter 16 Completing Interface Configuration (TransparentMode, 8.3 and Earlier)
Completing Interface Configuration in Transparent Mode (8.3 and Earlier)
Detailed Steps
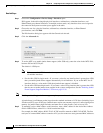
Step 1 Choose the Configuration > Device Setup > Interfaces pane.
BVIs appear in the table alongside physical interfaces, subinterfaces, redundant interfaces, and
EtherChannel port-channel interfaces. In multiple context mode, only interfaces that were assigned to
the context in the System execution space appear in the table.
Step 2 Choose the row for a physical interface, subinterface, redundant interface, or EtherChannel
port-interface, and click Edit.
The Edit Interface dialog box appears with the General tab selected.
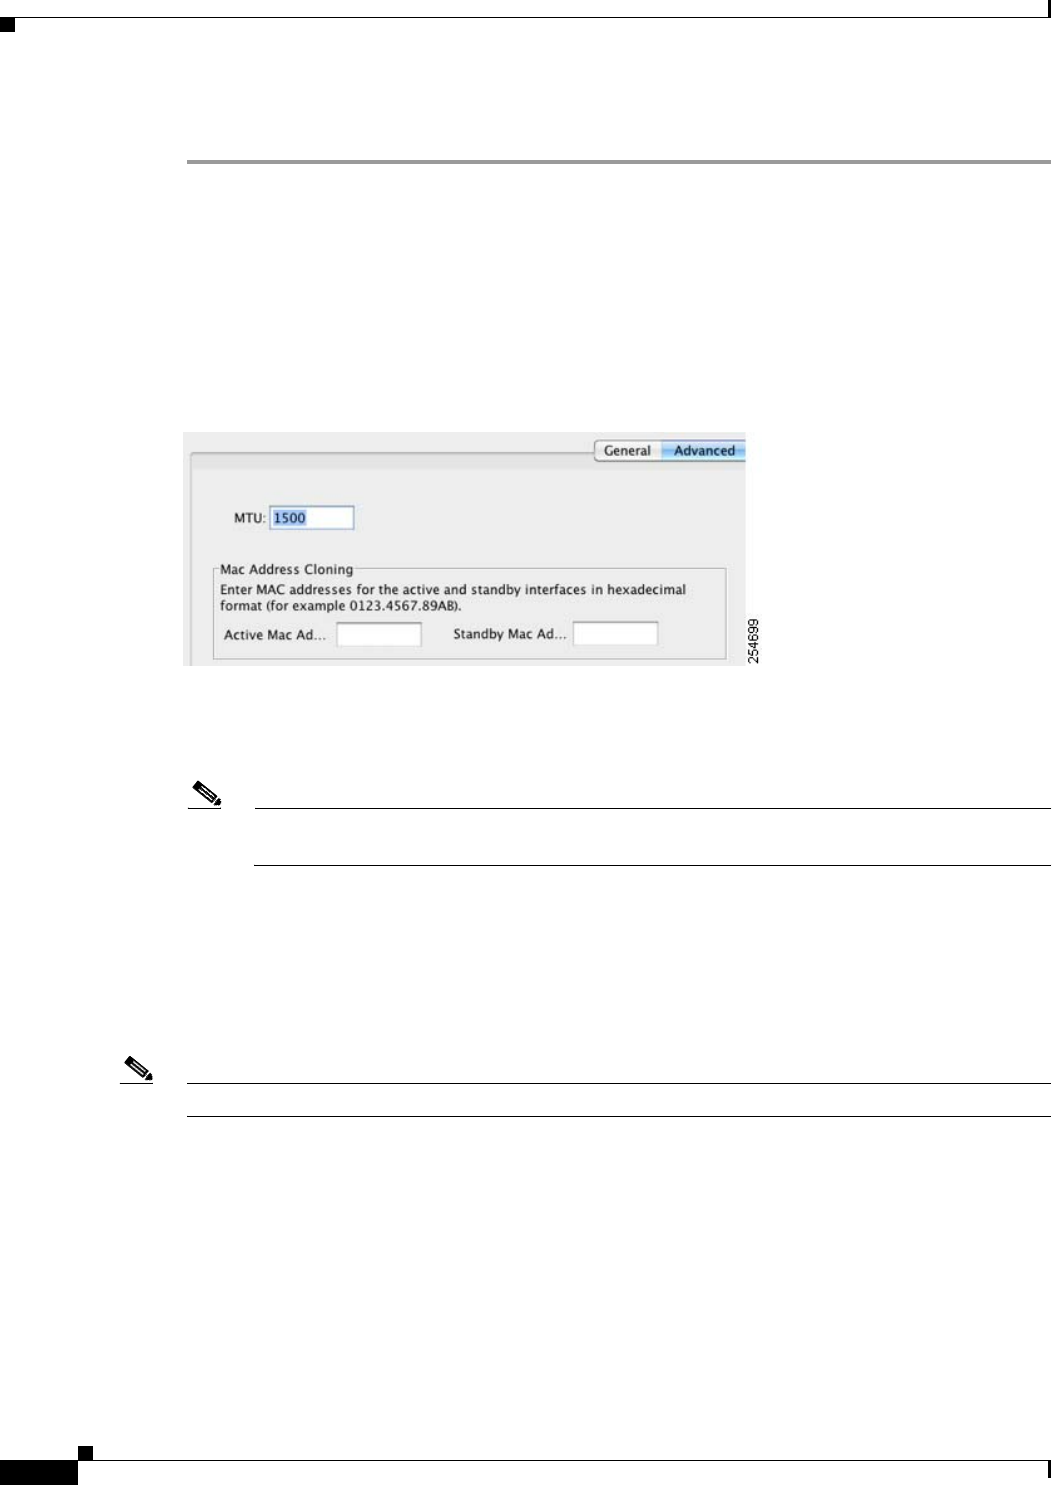
Step 3 Click the Advanced tab.
Step 4 To set the MTU or to enable jumbo frame support (ASA 5580 only), enter the value in the MTU field,
between 300 and 65,535 bytes.
The default is 1500 bytes.
Note When you set the MTU for a redundant or port-channel interface, the ASA applies the setting to
all member interfaces.
• For the ASA 5580 in single mode—If you enter a value for any interface that is greater than 1500,
then you enable jumbo frame support automatically for all interfaces. If you set the MTU for all
interfaces back to a value under 1500, then jumbo frame support is disabled.
• For the ASA 5580 in multiple mode—If you enter a value for any interface that is greater than 1500,
then be sure to enable jumbo frame support in the system configuration. See the “Enabling Jumbo
Frame Support (Supported Models)” section on page 12-38.
Note Enabling or disabling jumbo frame support requires you to reboot the ASA.
A jumbo frame is an Ethernet packet larger than the standard maximum of 1518 bytes (including Layer
2 header and FCS), up to 9216 bytes. Jumbo frames require extra memory to process, and assigning more
memory for jumbo frames might limit the maximum use of other features, such as access lists.
Step 5 To manually assign a MAC address to this interface, enter a MAC address in the Active Mac Address
field in H.H.H format, where H is a 16-bit hexadecimal digit.
For example, the MAC address 00-0C-F1-42-4C-DE would be entered as 000C.F142.4CDE. The first
two bytes of a manual MAC address cannot be A2 if you also want to use auto-generated MAC addresses.