388 Faxing
FILE LOCATION: C:\Users\fxstdpc-
admin\Desktop\0630_UG??\Mioga_AIO_UG_FM\Mioga_AIO_UG_FM\section20.fm
DELL CONFIDENTIAL – PRELIMINARY 9/13/10 - FOR PROOF ONLY
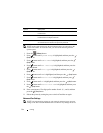
2
Press button to select
Fax/Scanner Diag
, and then press the
(Set)
button.
3
Press button until
Parameter
appears, and then press the
(Set)
button.
4
Ensure that
FAX Parameter
appears, and then press the
(Set)
button.
5
Press button until
G3M RX Coding
appears, and then press the
(Set)
button.
6
Press button until the desired encoding appears, and then press the
(Set)
button.
You can select
MH
,
MR
, or
MMR
.
Diagnosing the Fax Connection
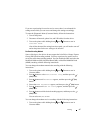
You can diagnose the Fax connection using the FAX Line Diagnosis feature that
can detect the abnormalities of telephone line connection.
1
Turn on the printer while holding down and buttons to start in
Customer Mode.
2
Press button to select
Fax/Scanner Diag
, and then press the
(Set)
button.
3
Press button until
FAX Test
appears, and then press the
(Set)
button.
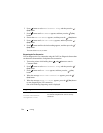
4
When the message
Check FAX Connection
appears, press the
(Set)
button.
5
When the message
Ready to Start
appears, press the
(Set)
button
to start diagnosing the FAX connection.
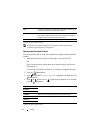
One of the following diagnosing result is displayed.
Diagnosing result Description
Connection not Detected
Please Reconnect
Telephone Line
The telephone line cord is not connected. Make
sure that the telephone line cord is securely
connected.


