


Installing Summit Family Switches
Summit Family Switches Hardware Installation Guide
122
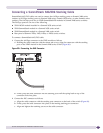
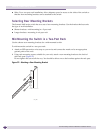
8 Connect the power cables.
● For AC-powered units, connect the power cable to the AC power connector on the back of the
switch. Then connect the power cable to an AC power socket.
● For information about DC-powered units, see “Installing and Removing Summit DC-Powered
Switches” on page 122.
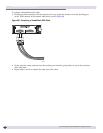
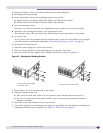
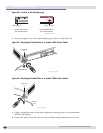
Free-Standing and Desktop Mounting of Multiple Switches
Summit family switches are supplied with four self-adhesive rubber pads. Apply the pads to the
underside of each device by placing the pad in the marked area at each corner of the switch, ensuring
that all corners are aligned. You can safely place up to four Summit family switches on top of one
another.
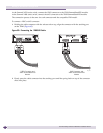
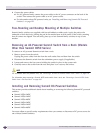
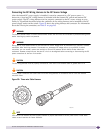
Removing an AC-Powered Summit Switch from a Rack (Models
Other than Summit X650 Series)
To remove an AC-powered Summit switch from a rack:
1 Remove power from the switch.
Unplug the power cables from the from the wall outlets first and then from the switch.
2 Disconnect the Summit switch from the redundant power supply (if applicable).
3 Loosen and remove the four screws holding the switch in place in the system rack.
4 Carefully remove the switch from the rack and place it on a secure, flat surface.
NOTE
For information about DC-powered units, see “Removing a Summit DC-Powered Switch from a Rack” on page 126.
For information about removing a Summit X650 series switch from a rack, see “Removing a Summit X650 Series
Switch from a Two-Post Rack” on page 166.
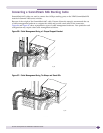
Installing and Removing Summit DC-Powered Switches
This section provides additional details about installing or removing the following Summit DC-powered
switches:
● Summit X250e-24tDC
● Summit X250e-24xDC
● Summit X250e-48tDC
● Summit X450a-24tDC
● Summit X450a-24xDC
● Summit X450a-48tDC
You must adhere to specific safety requirements when you connect or disconnect a DC power source for
one of these Summit switches.