


Installing Summit Family Switches
Summit Family Switches Hardware Installation Guide
158
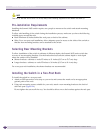
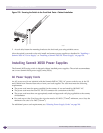
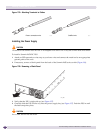
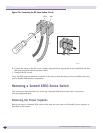
Figure 134: Installing a PSU
5 To install a second PSU, repeat steps 3 and 4.
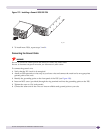
NOTE
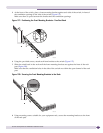
If PSUs are not installed in both power supply bays, be sure to install a cover over the unoccupied bay. Unoccupied
bays must always be covered to maintain proper system ventilation and EMI levels.
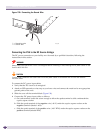
6 Connect an appropriate AC power cord to the power input socket; connect the other end of the
power cord to a grounded AC power outlet.
WARNING!
Always be sure that the source outlet is properly grounded before plugging the AC power cord into the AC PSU.
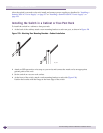
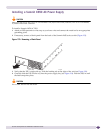
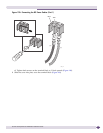
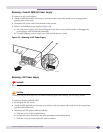
Installing a Summit X650 DC Power Supply
CAUTION
Make sure that the Summit X650 DC PSU circuit is not overloaded. Use proper over-current protection, such as a
circuit-breaker, to prevent over-current conditions. You may use up to a 30-Amp breaker.
To install the Summit X650 DC PSU, perform the following tasks in the order listed:
1 Prepare the power cables and ground cable by attaching the provided connection lugs to the cables
(see next section).
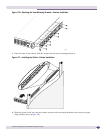
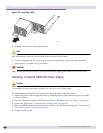
2 Insert the PSU into the Summit X650 series switch (see “Installing the Power Supply” on page 160.
3 Connect the ground (see “Connecting the Ground Cable” on page 161).
4 Have a qualified licensed electrician connect the PSU to the DC source voltage (see “Connecting the
PSU to the DC Source Voltage” on page 162).
5 Energize the DC circuit.
SH_089