Appendix C
Upgrading the printer’s memory
C-4 Appendix C
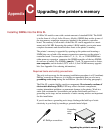
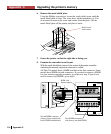
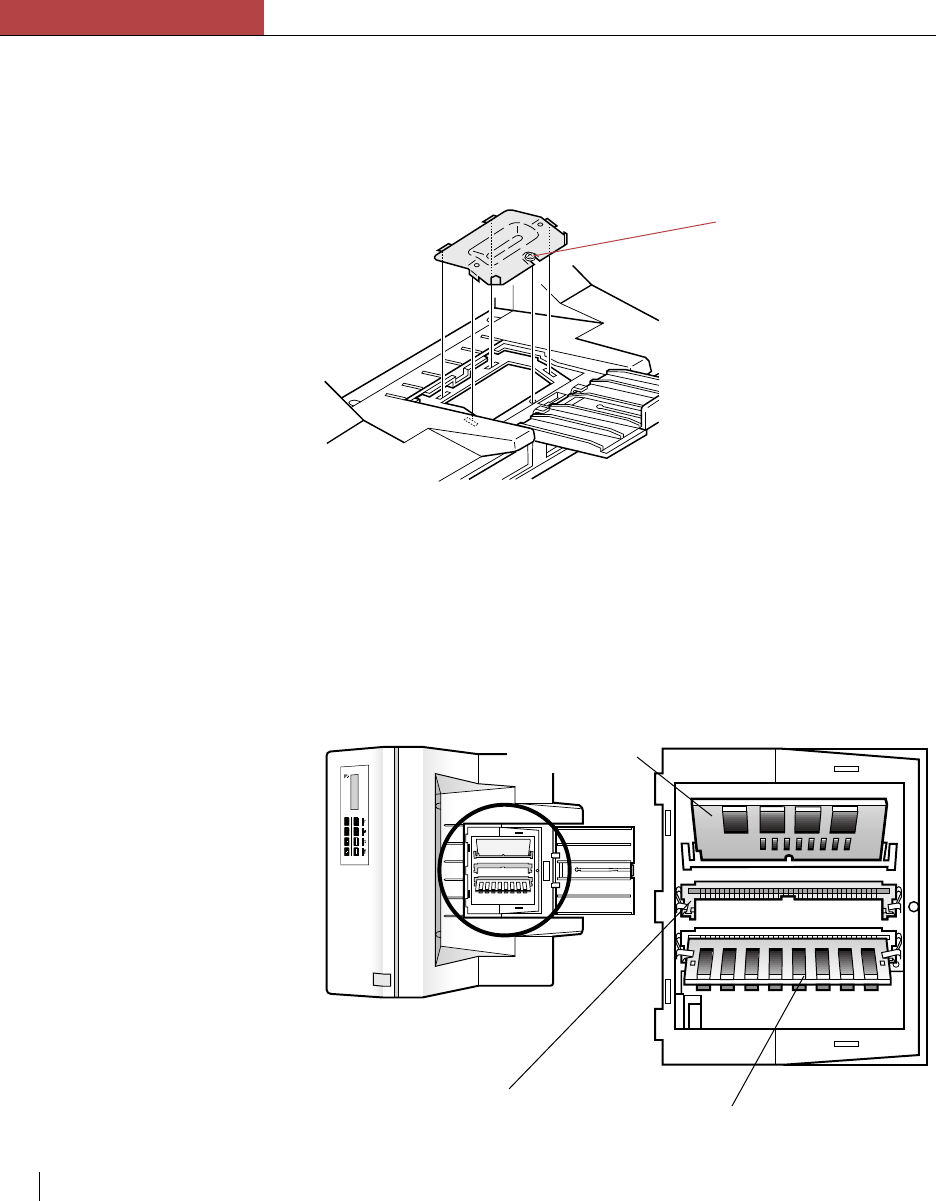
6. Remove the metal shield plate.
Using the Phillips screwdriver, loosen the single shield screw until the
metal shield plate is freed. The screw has a washer attached to it. You
do not need to remove the screw and washer from the plate. Lift the
metal shield plate off the printer and place it aside.
7. Orient the printer so that the right side is facing you.
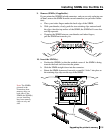
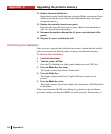
8. Examine the controller board layout.
With the metal shield plate removed, the section of the printer controller
containing the memory expansion connectors is visible.
All Elite XL models have a SIMM installed in the first connector. Some
models have SIMMs in both connectors. If you need to remove a SIMM
for your memory upgrade procedure, go to the next step. If you do not
need to remove any SIMMs, go to step 9.
On Line Comm Paper Service
On Line
Menu
Manual
Feed
Form Feed
Continue
Enter
Cancel
Reset
Elite XL
G
CC
T
ECHNOLOGIES
ROM card –
do not remove.
Second SIMM connector
(empty). Some models may
have a SIMM installed here.
First SIMM connector
with factory installed SIMM.
Shield screw
with washer


