Using the Elite XL with Windows and DOS 4-11
Printing from Windows 3.1 applications
The Elite XL is designed to work with all Windows 3.1 (or higher) compatible
applications. The GCC Windows driver provides commonly used printing
options along with some others (e.g. paper sizes and paper trays) that are
specific to the Elite XL.
Printing options may be selected from within an application through the Print
Setup and Print dialog boxes, or from within the Windows Print Manager or
the Printers control panel (see page 4-4). Options selected through the Print
Manager or Printers control panel appear as the default options when you open
a new document in your applications. In general, options selected from within
an application document will override corresponding options in the Printers
control panel, Print Manager, and the printer’s front panel submenus.
The location of printing options can vary among Windows applications, and
certain options may be accessible from more than one dialog box. Options may
also have different names than those in the Printers control panel (e.g. print
quality vs. resolution). Refer to the application’s documentation for further
information.
Selecting Print Setup options
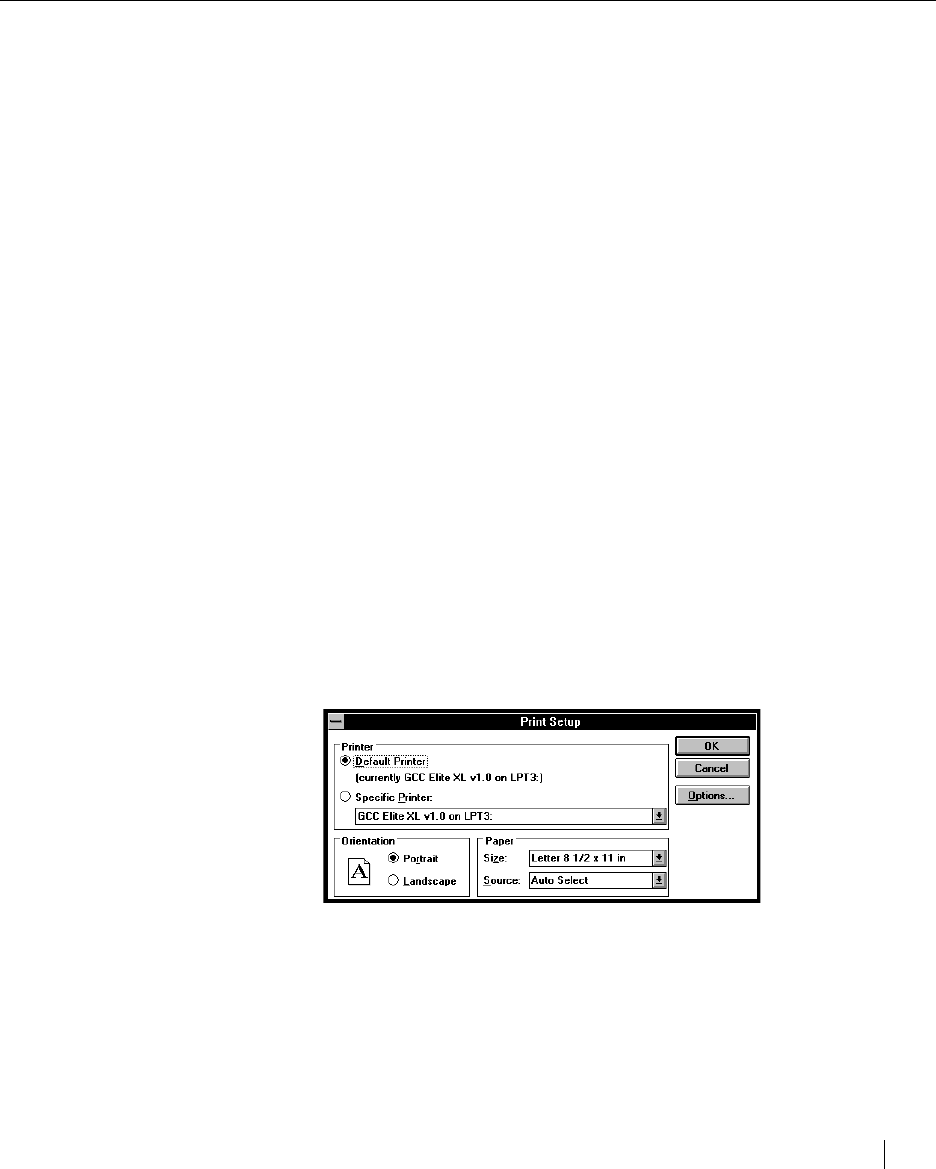
The Print Setup option is usually located under the File menu. The following
Print Setup dialog box example is taken from Microsoft Write.
Note: Applications use different terminology to refer to the Print Setup dialog box. For
example, Microsoft Word
®
uses Print Setup… and Aldus PageMaker uses Target
Printer…. For more information on how to access the Print Setup dialog box, refer to
the documentation provided with the application you are using.
Note: For a complete definition of the standard Page Setup and Print options available
with the Elite XL see pages 4-4 to 4-7.
Printing from Windows applications
