


6 - 38
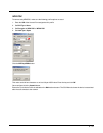
3. The certificate import wizard starts. Tap Next.
4. Confirm the certificate file name and location.
5. Tap Next.
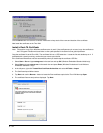
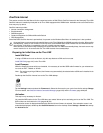
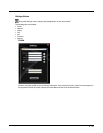
6. You are prompted for the password that was assigned when the certificate was exported.
7. It is not necessary to select either of the checkboxes displayed above.
8. Enter the password and tap Next.
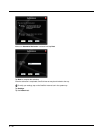
9. On the next screen, allow Windows to automatically select the certificate store, then click Next and Finish. An import
successful message is displayed.
Manually Initiate Certificate Installation
If the Certificate Wizard does not start automatically when you double-tap the certificate .PFX file:
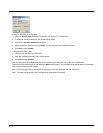
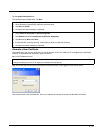
1. Select Start > Run and type certmgr.msc in the text box and tap OK (Windows Embedded Standard 2009 only).
2. Select Start and type certmgr.msc in the search box and press Enter (Windows Professional 7 and Windows
Embedded Standard 7 only).
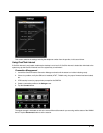
3. In the left pane, right-click Personal and select All Tasks > Import.
4. The Certificate Import Wizard starts.
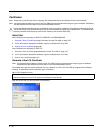
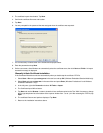
5. Tap Next and use the Browse... button to locate the User certificate copied to the Thor VM2. If necessary, change
the file type drop down list at the bottom of the explorer window from *.cer to *.pfx. After selecting the .PFX file, tap
Open.
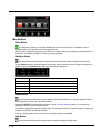
6. The certificate filename and path are displayed. Tap Next.
7. Return to the installation instructions above.