61
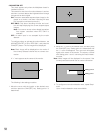
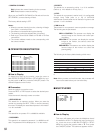
• DATA4/PSD PORT SELECT
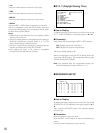
This stands for the operation mode: PS·Data or the terminal
mode.
PSD: Select this when connecting a PS·Data controller
to the DATA 4 port.
DATA 4: Select this when connecting a terminal-mode
controller to the DATA 4 port.
The factory default setting is PSD.
• PSD/HDR PORT SPEED
This stands for the PS·Data communication speed (or baud
rate) of the DATA 4 port.
19200, 9600 or 4800 bps is selectable.
The factory default setting is 9600 bps.
• SERIAL PORT SPEED
Select the desired communication speed for SERIAL (the
serial port), with the NEXT or PREV button.
38400 bps: The speed is set to 38400 bps.
19200 bps: The speed is set to 19200 bps.
9600 bps: The speed is set to 9600 bps.
4800 bps: The speed is set to 4800 bps.
The factory default setting is 38400 bps.
After the configuration, press the MON (ESC) button. The
monitor display will return to the previous menu.
After all the configurations, press the SETUP button while
holding down the SHIFT button. The configuration will be
updated when closing SETUP MENU.
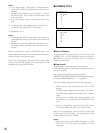
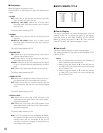
• EXT IN
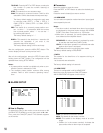
This stands for the setting of the EXT IN connector at the
unit's rear panel.
This menu does not appear when the Multiplexer board is
installed in the unit.
GENLOCK
ON: Select this mode to gen-lock the unit with the
recorder.
OFF: Select this mode if the asynchronous unit is con-
nected with the recorder.
The factory default setting is GENLOCK OFF.
Notes:
• If GENLOCK ON is selected, the playback images or
multiscreen display cannot be displayed on Monitor 1
to 4. Confirm the images on the monitor which are con-
nected to the recorder.
• If GENLOCK OFF is selected, the maximum rate
recording becomes unavailable (when WJ-HD500A is
connected to the unit).
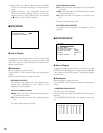
CAM: This stands for the camera number.
COMP: This stands for cable compensation.
Select the desired setting according to the cable length.
S: Less than 400 m (1 300 ft)
M: 400 m (1 300 ft) to 700 m (2 300 ft)
L: 700 m (2 300 ft) to 900 m (3 000 ft)
Refer to p. 37 for available cables.
The factory default setting is S.
VD2: To send the VD2 timing pulse with the camera
output signal, select ON. Not to send the VD2 tim-
ing pulse with the camera output signal, select OFF.
The factory default setting is ON.
DATA: To send the control data with the camera output
signal, select ON. Not to send the control data with
the camera output signal, select OFF. The factory
default setting is ON.
After the configuration, press the MON (ESC) button. The
monitor display returns to the previous menu.
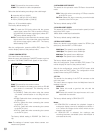
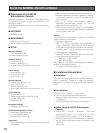
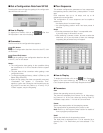
• RS485 CAMERA SETUP
This menu links to the submenu.
Move the cursor and press the CAM (SET) button to go into
the menu. 720 RS485 CAMERA will appear on the monitor.
CAM: This stands for the camera number.
PORT: This stands for the data port to which an RS-485
type camera is connected. The following are the
parameters.
• --(DISABLE): Select this when using the camera
via coaxial communication or not using the cam-
era.
• RS485: Select this when connecting the camera to
an RS-485 port.
• DATA1: Select this when connecting the camera
to the DATA 1 port.
• DATA 2: Select this when connecting the camera
to the DATA 2 port.
• DATA 3: Select this when connecting the camera
to the DATA 3 port.
The factory default setting is DISABLE (for CAM 1 to
16).
Note: The settings of camera inputs without camera con-
nections are ignored.
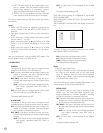
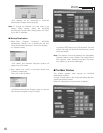
720 RS485 CAMERA
CAM PORT CAM PORT
1 -- 9 --
2 -- 10 --
3 -- 11 --
4 -- 12 --
5 -- 13 --
6 -- 14 --
7 -- 15 --
8 -- 16 --


