


67
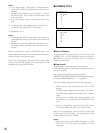
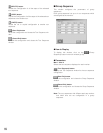
Recorder Control: Click on the desired radio button to
determine the recorder type.
OFF: Select this when no recorder is connected to the
unit.
HD100: Select this when a WJ-HD100 Series recorder
is connected to the unit.
HD500: Select this when a WJ-HD500 Series recorder
is connected to the unit.
The factory default setting is HD500.
• Unit Address
This parameter is configurable only when HD100,
HD200 or HD500 is selected in the Recorder window.
When OFF is selected there, this parameter is dis-
played in gray and not configurable. 1 to 99 is selec-
table. The factory default setting is 1.
Note: If you use a time-lapse VCR for the recorder, do the
recorder setting in SETUP MENU. (Refer to RECORDER
in p. 60.)
• EXT IN: This stands for the setting of the EXT IN con-
nector at the unit's rear panel.
GEN LOCK ON: Select this mode to gen-lock the unit
with the recorder.
GEN LOCK OFF: Select this mode if the asynchronous
unit is connected to the recorder.
Notes:
• If GENLOCK ON is selected, the playback images can-
not be displayed on the monitors which are connected
to the connectors MONITOR OUT 1 to 4. Confirm the
images on those which are connected to the recorder.
• If GENLOCK OFF is selected, the maximum rate
recording becomes unavailable for WJ-HD500 Series.
• When a Multiplexer board is installed in the unit, you
can select either HD100 (Recorder window) or VCR
(610 RECORDER CONTROL in SETUP MENU). (Refer
to p. 60 for SETUP MENU.)
• When you select HD100 or VCR, make sure EXT IN is
set to GENLOCK OFF.
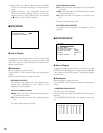
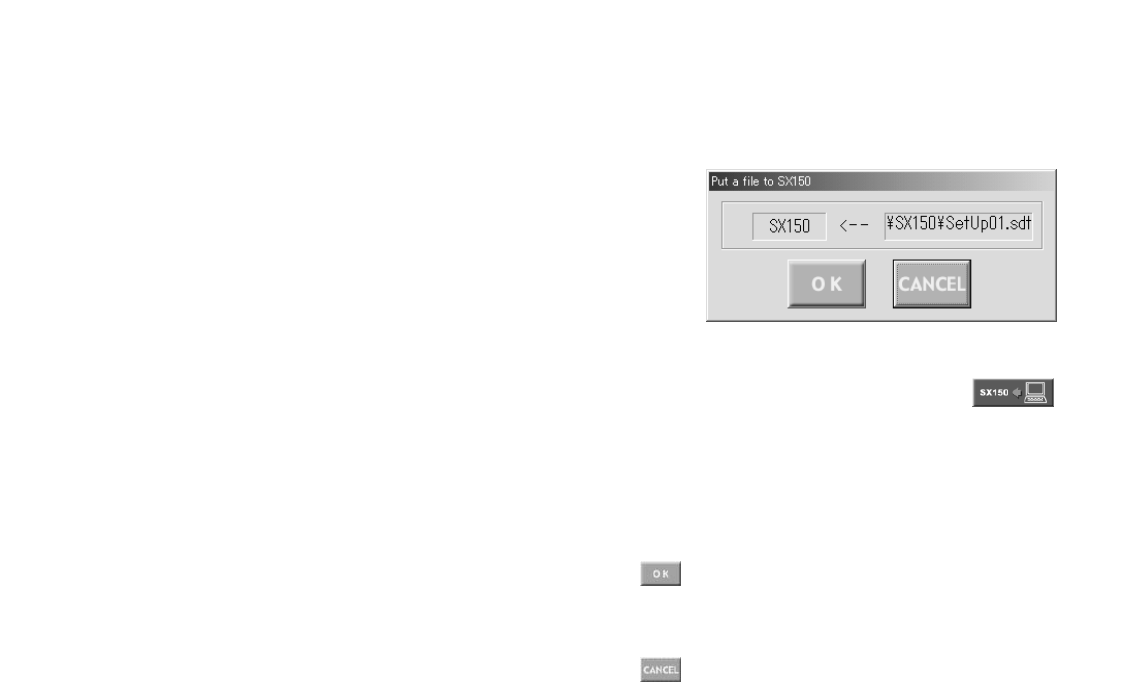
■ Put a File to SX150
Pressing this button will start the putting of the configuration
data from the PC to the unit.
● How to Display
To display this window, click on the (Put to
SX150) button in the main window (p. 65).
● Parameters
The file name of the configuration data appears.
(OK) button
To put the configuration file from the PC to the unit, click on
this button.
(Cancel Exit) button
To cancel the putting of the configuration data from the PC
to the unit, click on this button.
Notes:
• The setup file has been configured at the factory, and
the file names appear on the main window's title bar.
• Put the file from the PC to the unit when the time with no
necessary to the continuous system operation, such as
after-hours. After the file putting, the system will auto-
matically restart. Then, the system controllers will tem-
porarily log out.
• To change a file, select a file again. (Refer to p. 84
Select Setup Data File.)
• The configuration file cannot be put to the unit while
opening SETUP MENU.
• It takes a few seconds to put a file to SX150, and you
might assume the PC has been freezing.
Wait until the message “Completed!” appears on the
screen. If the message “Connection error” appears, the
PC is incorrectly connected to the unit. Confirm the set-
tings of WJ-SX150 Administrator Console and retry the
file putting.
(Refer to p. 61 SERIAL PORT SPEED and p. 86
Communication Port.)