4-12
Maintaining the printer
User’s Guide for the Magna™ Class Printer
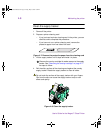
14 Lift the printhead cartridge up and off the swing arm (step 2 in
Figure 4-10).
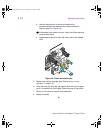
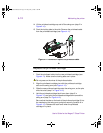
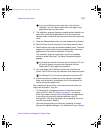
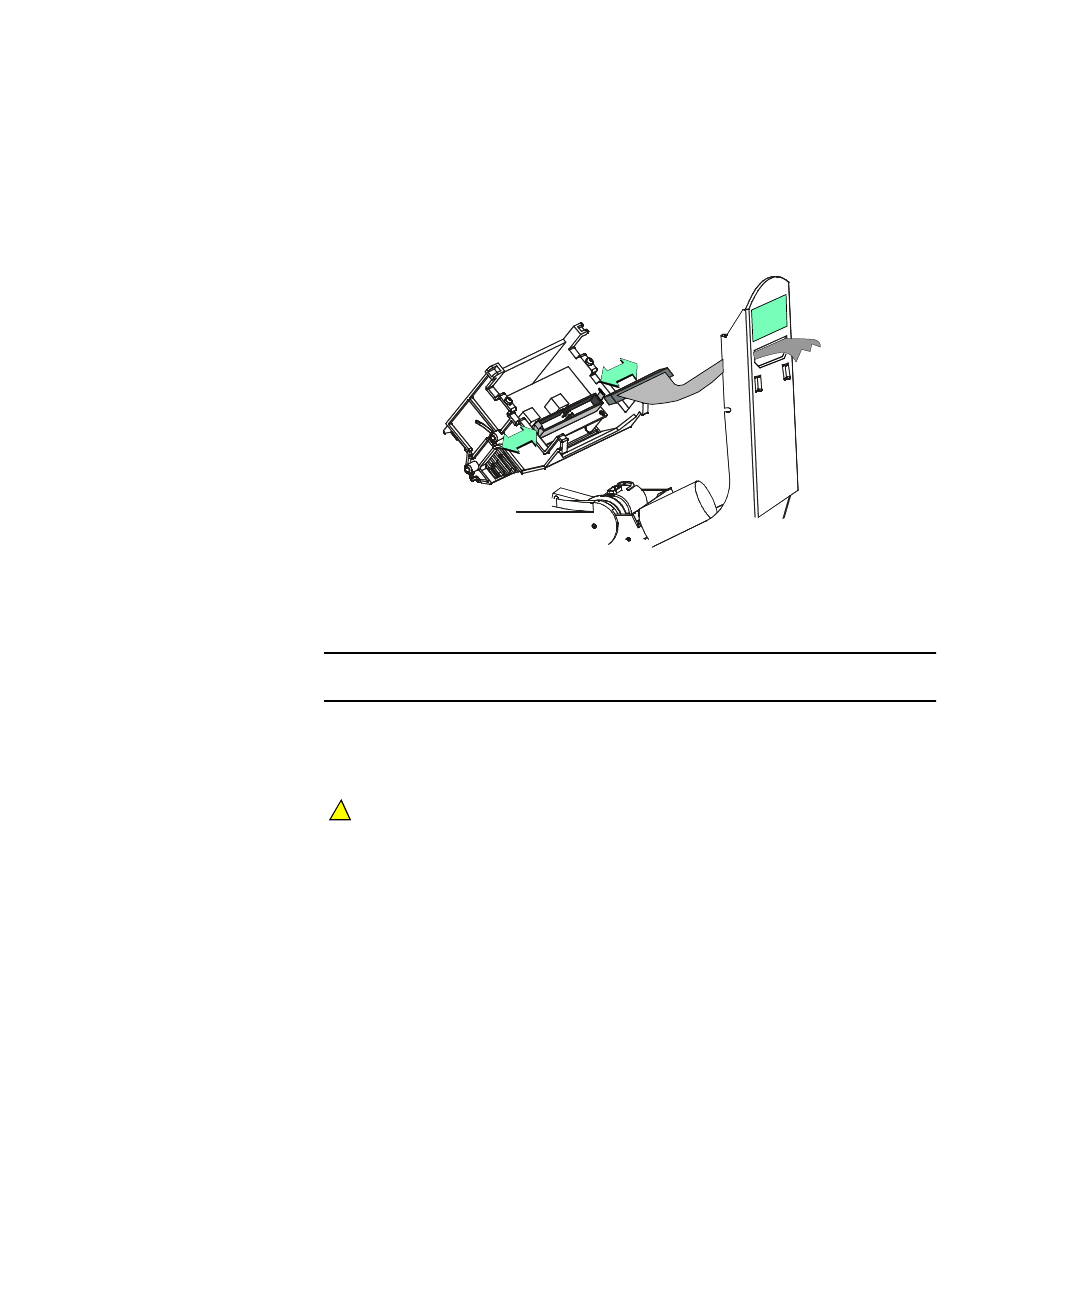
15 Push the locking tabs to the side. Remove the printhead cable
from the printhead cartridge (see Figure 4-11).
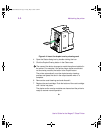
Figure 4-11: Remove or replace the printhead cable
♦
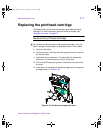
Replace the printhead cartridge
1 Push the printhead cable into the new printhead cartridge (see
Figure 4-11). Make sure the locking tabs are in place.
Do not press on the wires of the printhead cable.
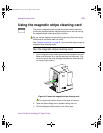
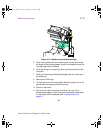
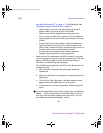
2 Align the printhead cartridge pins with the printhead cartridge
slots on the swing arm (see Figure 4-12).
3 Slide the new printhead cartridge onto the swing arm, so the pins
slide into slots (step 1 in Figure 4-12).
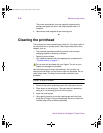
4 Hold the printhead cartridge latch lever down (step 2 in
Figure 4-12) and pivot the printhead cartridge down toward the
swing arm (step 3 in Figure 4-12).
Be sure that the tabs on the back of the printhead cartridge fit into
the notches on the swing arm spring bar securely (location A in
Figure 4-12). Release the latch lever when the printhead
cartridge is in place.
!
MagnaUserGuide.book Page 12 Friday, May 5, 2000 1:09 PM


