Diagnostics www.emersonct.com 121
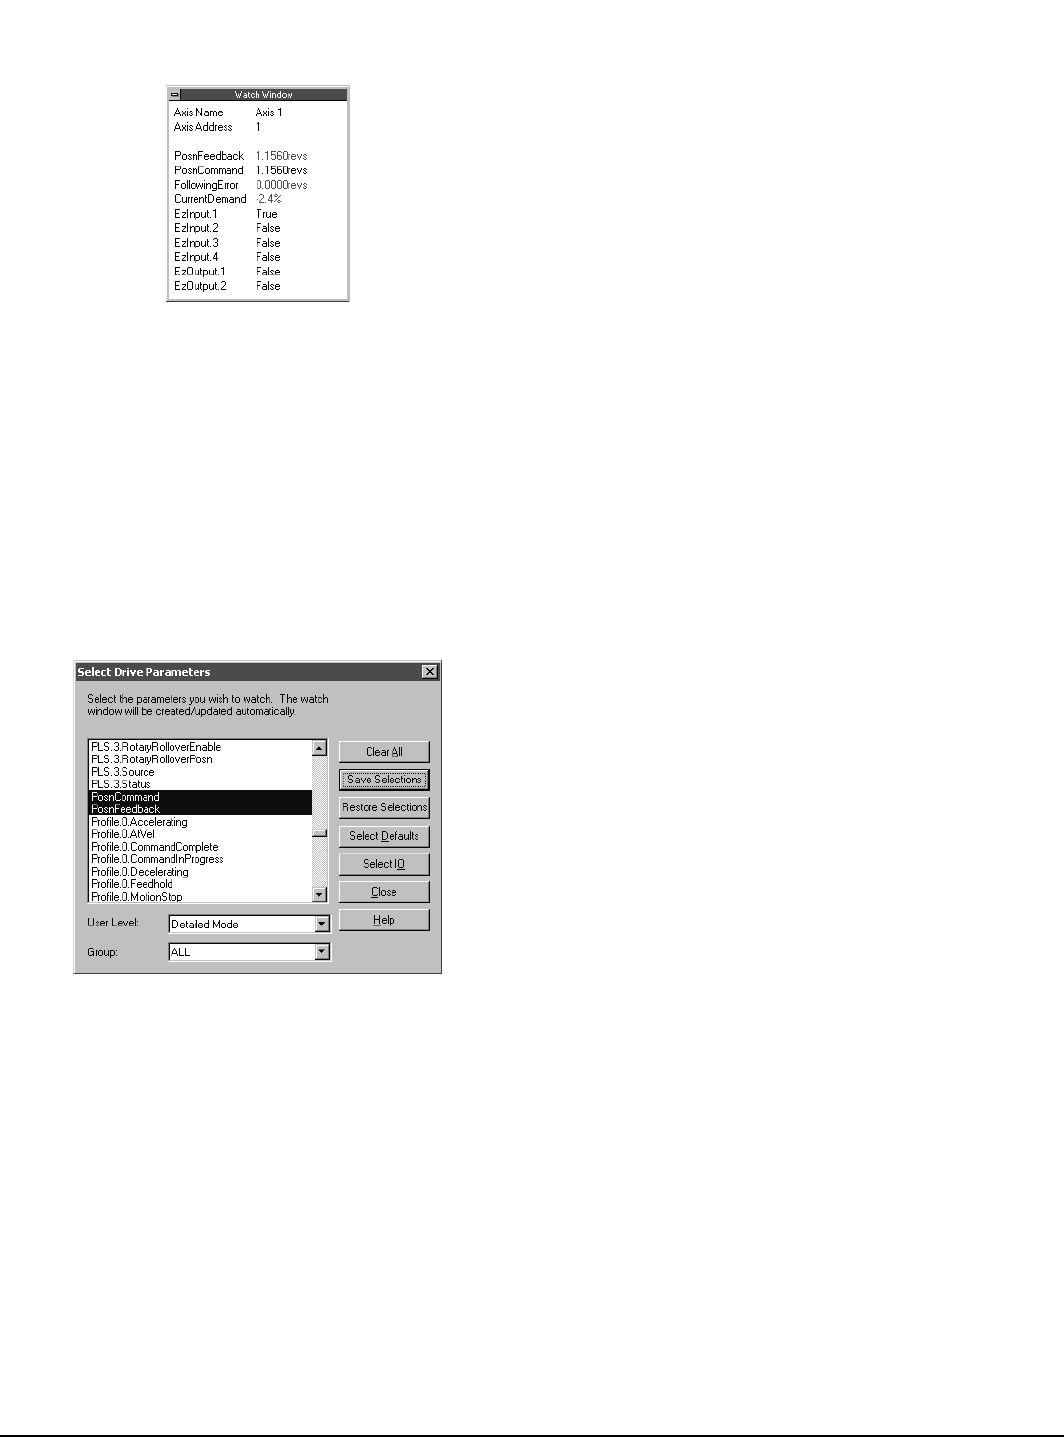
Figure 114: Watch Window Example
To setup the Watch Window, select Tools > Watch Window
from the PowerTools Pro menu bar. If not online with the
module, Watch Window will be a greyed-out choice on the
menu. Upon selecting Watch Window, the Select Drive
Parameters window will appear.
The Select Drive Parameters window, as seen in Figure
115, allows the user to specify which parameters are to be
viewed in the Watch Window. To select a parameter for the
Watch Window, simply click once on the parameter and it
will be added to the Watch Window. The parameters
already in the Watch Window will be highlighted in the
Select Drive Parameters window.
Figure 115: Select Drive Parameters Window
Once a parameter is added to the Watch Window, its
current value or state is constantly monitored. If a
parameter in the window changes value or state, it will
change to a red color.
It will remain red until it hasn't changed for a period of 4
seconds. After 4 seconds, the parameter will turn back to
black in color. This allows the user to see what has
changed recently without looking directly at every
parameter.
The following are descriptions of the buttons and controls
on the Select Drive Parameters window:
Clear All - By clicking on the Clear All button, all of the
parameters in the Watch Window will be erased.
Save Selections - By clicking on Save Selections, the user
can save the specific parameters that have been added to
the Watch Window. Once the selections have been saved,
the Restore Selections button can be used to monitor all
the same parameters the next time the user opens the
Watch Window. Therefore, if there is a list of helpful
diagnostic parameters the user wishes to see when online,
those specific parameters can be saved and recalled in the
Watch Window at any time. The settings are saved in a file
named "EZwatch.wch".
Restore Selections - By clicking on the Restore Selections
button, the Watch Window will be filled with the list of
parameters that were last saved using the Save Selections
button.
Select Defaults - The Select Defaults button adds the most
commonly used parameters to the Watch Window.
Select I/O - The Select I/O button will add the Drive and
Module digital inputs and outputs to the Watch Window.
Close - The Close button will close the Select Drive
Parameters window, while the Watch Window will remain
open.
Help - The help button will give associated help on the
Watch Window setup.
User Level - The User Level setting is a filter for the
parameters that are seen in the Select Drive Parameters
list. If set to Easy, the parameters used in most basic
applications will be seen while the more advanced
parameters are hidden. If User Level is set to Detailed, the
parameters used in more advanced applications will be
added to the list. If set to Too Much, then all parameters
available in the system will be seen in the list. This allows
the user to select the User Level they are most comfortable
with to avoid confusion. If a parameter has been selected
and the User Level is changed, then the selected
parameter will remain selected.
Group - The Group setting allows the user to filter the
parameters that are displayed in the Select Drive
Parameters window by group. The Group defaults to "ALL"
so that parameters from all groups are seen. If the user
wishes to only see those parameters from a specific group,
the click on the Group list box and select the group of
parameters they wish to see.
13.3.2 Errors View
The Errors View in PowerTools Pro helps the user
diagnose problems by displaying any active errors or trips.
If online when an error activates, an error pop-up window
will appear that shows the active error. There are two
control buttons on the pop-up window that allow the user to
clear an error and trip or simply ignore it and remove the
pop-up window. An example of the pop-up window is
shown in Figure 116.
