Configuring an Application www.emersonct.com 33
7 Configuring an
Application
7.1 Introduction
All applications using SM-EZMotion modules are
configured using PowerTools Pro configuration software.
For specific questions on PowerTools Pro operation,
please refer to Section 3 of this manual.
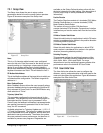
The hierarchy in PowerTools gives the user a basic
template on how to configure an application. The user
should start at the top of the hierarchy, filling out necessary
parameters on the different views, working all the way to
the bottom of the hierarchy. Once the user is more familiar
with the software, they may choose to skip various views.
By following the hierarchy from top to bottom, the user will
start by configuring the hardware that the SM-EZMotion
module will be used with (Drive Type, Motor Type, etc.).
The user will then configure the different Setup views for all
the different configuration parameters (i.e. User Units,
Tuning, PLS, Torque Limits, etc.). Next, the user
configures the Digital and Analog I/O for the drive,
SM-EZMotion module, and any SM-I/O Plus modules. The
user then defines all of the different motion profiles (Jogs,
Homes, Indexes, Gears) to be used in the application. After
the hardware, setup parameters, I/O, and motion have
been configured, the user writes programs to tie the entire
application together. Once the programs are complete, the
user can create the interface for Modbus communications
to the different drive/module parameters.
7.2 Define Hardware
7.2.1 Drive/Encoder View
The Drive/Encoder view allows the user to configure the
Drive Type and Encoder Type being used in the
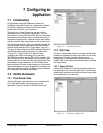
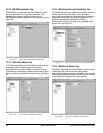
application. Figure 53 shows the Drive/Encoder view.
Figure 53: Drive/Encoder View
7.2.2 Slot # View
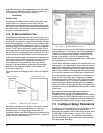
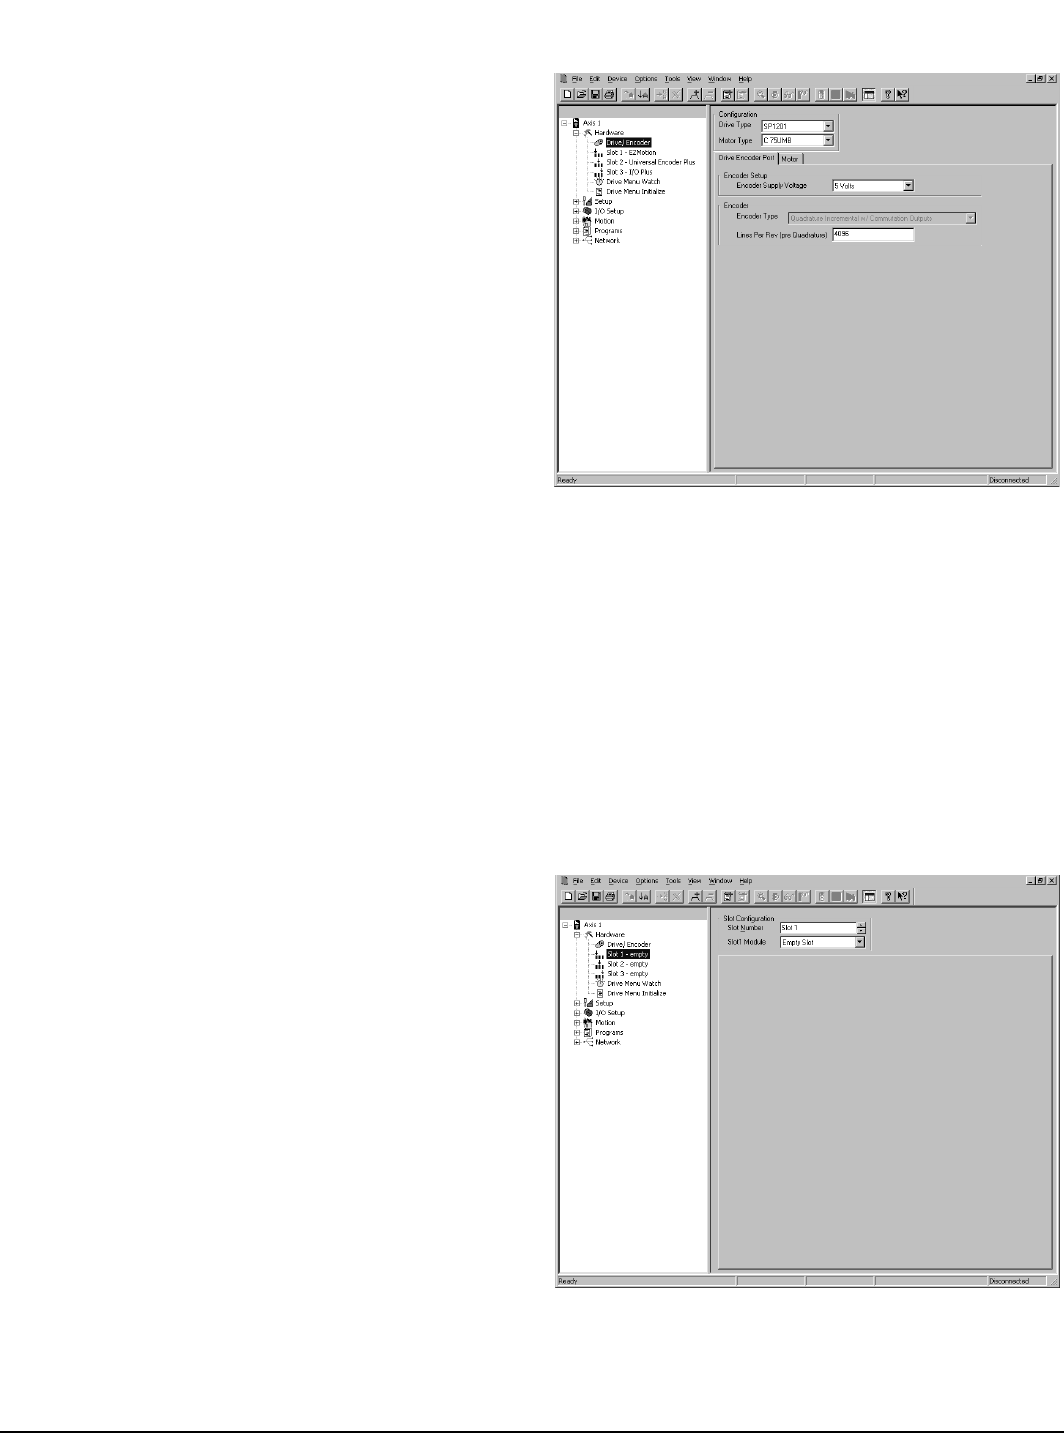
The Slot # View(s) allow the user to configure which option
modules are populated in which slots. Some of the views,
depending on the option module selected, have
configuration or setup parameters associated with the
module. Each of the views for the different option modules
are shown below.
7.2.2.1 Empty Slot View
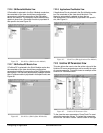
If Empty Slot is selected in the Slot # Module combo box,
the remainder of the view should be blank. The hierarchy
automatically updates to show that no module is populated
in the specific slot, see Figure 54.
Figure 54: Slot # View (Empty Slot)


