


Chapter 3 Windows PrintNet Configuration
32
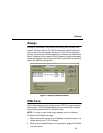
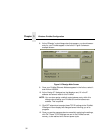
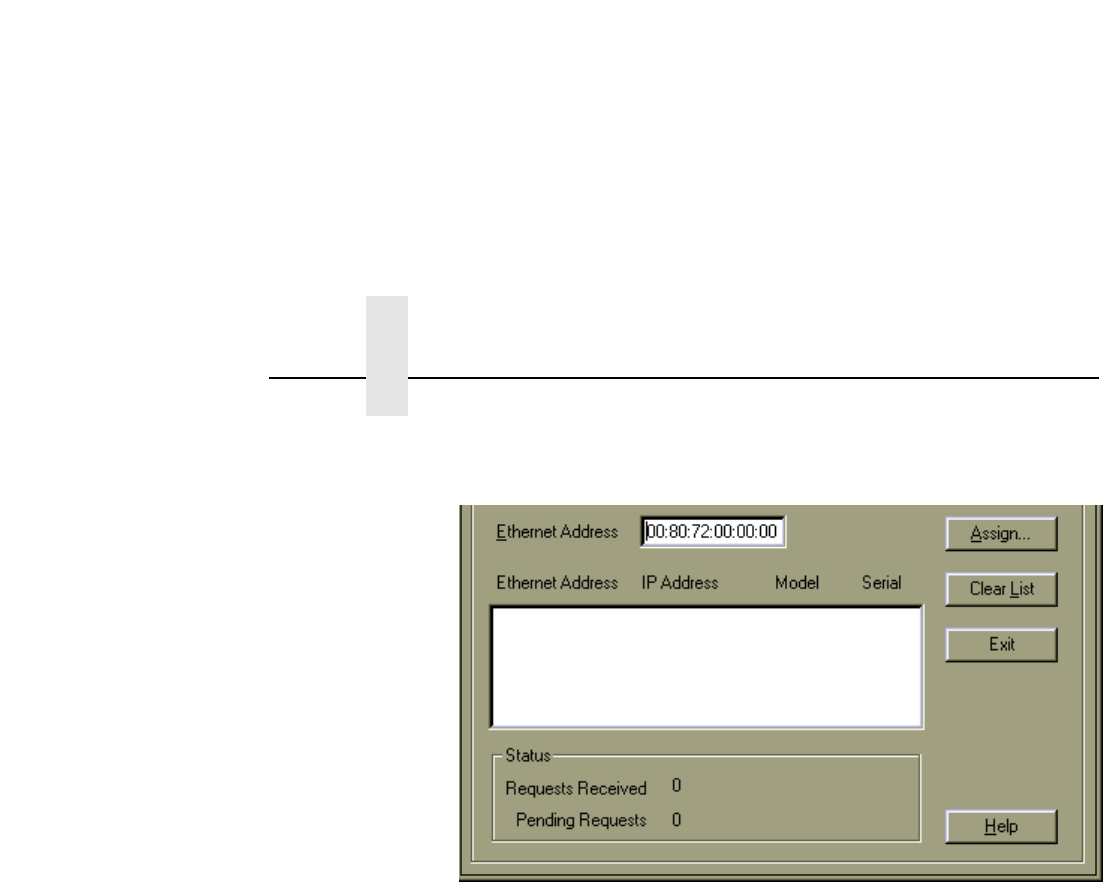
8. At the “IPAssign” main dialogue box that appears, you should see an
entry for your PrintNet appear in the list box. Figure 8 shows an
example screen.
Figure 8. IPAssign Main Screen
9. Once your PrintNet Ethernet Address appears in the list box, select it
and click on ASSIGN.
10. At the “Assign IP” dialogue box that displays next, fill in the IP
address and subnet mask for this PrintNet.
NOTE: You can also assign a default router/gateway entry within this
dialogue box allowing your PrintNet to communicate across
subnets. This is optional.
11. Click SET when done to assign these TCP/IP settings to the PrintNet.
IPAssign will then display two dialogue boxes informing you of its
progress.
12. Once you see the message about successfully assigning the settings,
click OK. These TCP/IP settings are now in the PrintNet current
memory, to be retained until the next power cycle.