Using the Control Panel
42
4
Using the Locked Print
Use this function to maintain privacy
when printing confidential docu-
ments on the machine over a shared
network. Usually, it is possible to
print data by using the control panel
once the data is stored in this ma-
chine. When using Locked Print, it
will not be possible to print unless a
password is entered on the machine's
control panel. Your confidential doc-
uments will be safe from viewing by
other people.
Note
❒ If the application has a collate op-
tion, make sure that it is not select-
ed before sending a print job. By
default, locked print jobs are auto-
matically collated by the printer
driver. If a collate option is select-
ed from the application print dia-
log box, more sets than intended
may be printed.
❒ You can identify the file you want
to print by the User ID and the date
and time when the job was stored.
❒ The number of pages the machine
can save depends on the contents
of the print image. For example,
the machine can save up to 30 jobs
or 2,000 pages including sample
print files depending on data vol-
ume.
❒ After the locked print file is print-
ed, the job in the machine is delet-
ed automatically.
❒ Turning off the main power switch
of the machine deletes the locked
print file.
Printing a Locked Print file
A
AA
A
Press {
{{
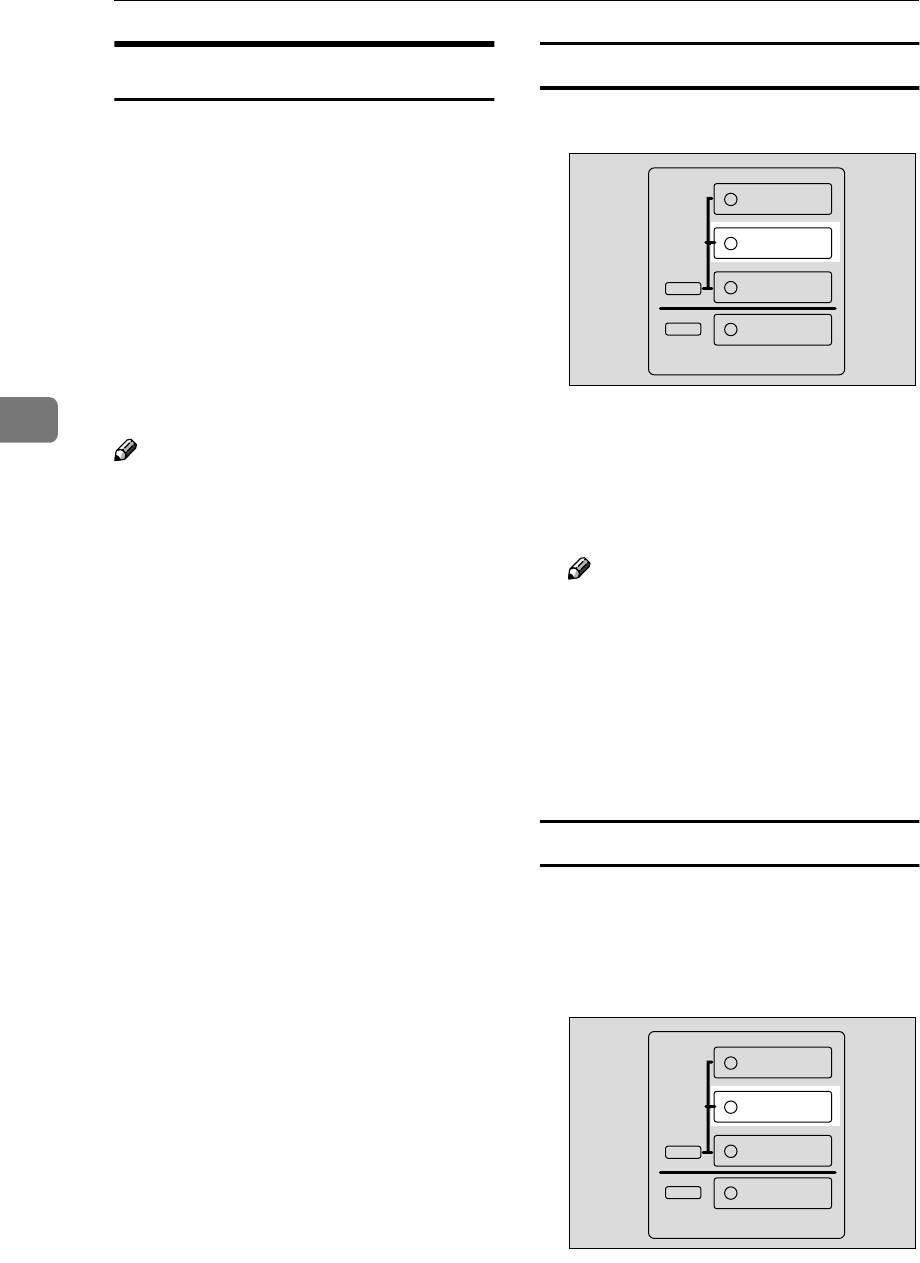
{Document Server New Job}
}}
}.
A list of the files stored in the Doc-
ument Server is Displayed.
B
BB
B
Select the file you want to print,
and then press [Print].
Note
❒ The locked print files are dis-
played with the “Key” mark.
The password screen is displayed.
C
CC
C
Enter the password using the
number keys and press [OK].
D
DD
D
Press [Yes] to print the file.
Deleting a Locked Print file
If the printed document is not what
you expected, you can delete the
Locked print file.
A
AA
A
Press {
{{
{Document Server New Job}
}}
}.
A list of the print files stored in the
Document Server is displayed.
ZBQS121N
Copy
New Job
Document Server
New Job
Job List
Printer
ZBQS121N
Copy
New Job
Document Server
New Job
Job List
Printer
