


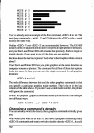
MODE
# 0
MODE
# 1
MODE
#
2 -1
MODE # 3 m
MODE
# 4
MODE
# 5
MODE # 6 m
MODE
#
7 -1
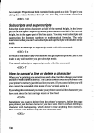
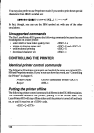
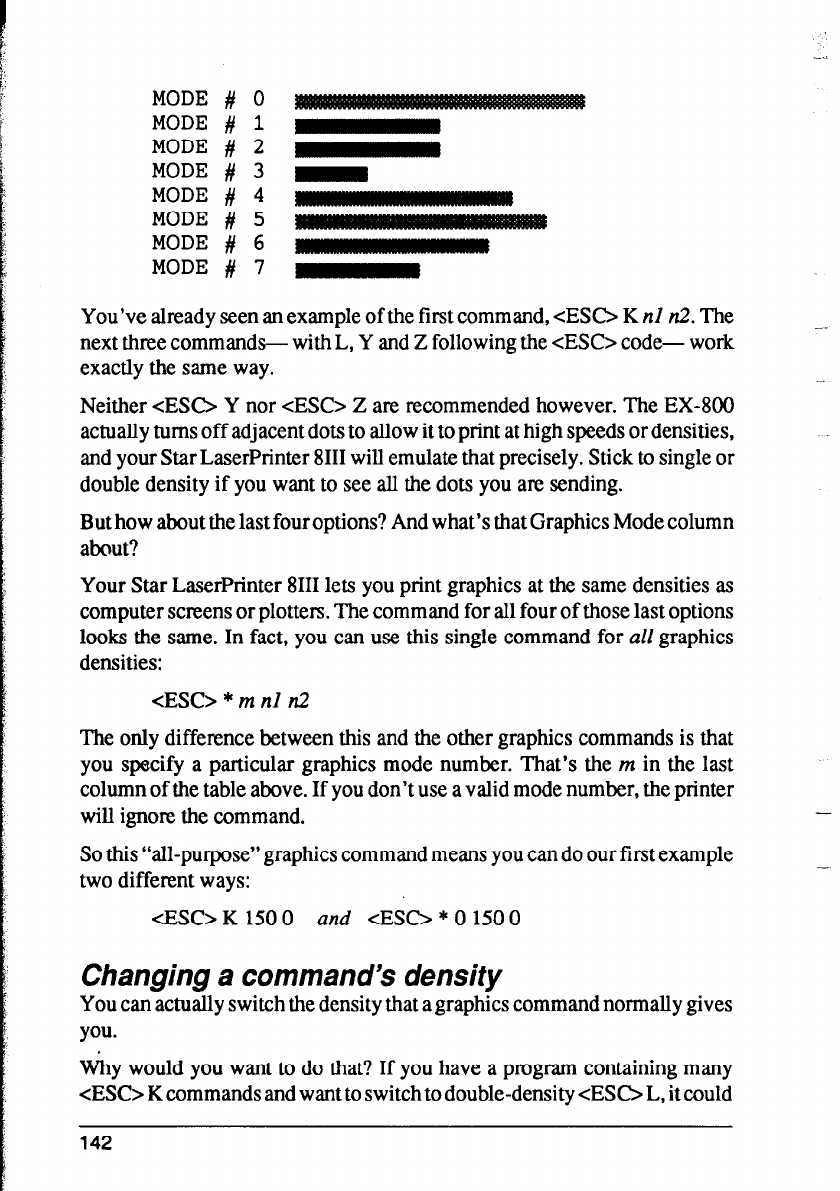
You’ve already seen an example of the first command, <ES0 K nl n2. The
next three commands- with L, Y and Z following the <ESC> code- work
exactly the same way.
Neither <ESC> Y nor <ES0 Z are recommended however. The EX-800
actually turns off adjacent dots to allow it to print at high speeds or densities,
and your Star LaserPrinter 8111 will emulate that precisely. Stick to single or
double density if you want to see all the dots you are sending.
But how about the last four options? And what’s that Graphics Mode column
about?
Your Star LaserPrinter 8111 lets you print graphics at the same densities as
computer screens or plottern. The command for all four of those last options
looks the same. In fact, you can use this single command for all graphics
densities:
<ESC> * m nl n2
The only difference between this and the other graphics commands is that
you specify a particular graphics mode number. That’s the m in the last
column of the table above. If you don’t use a valid mode number, the printer
will ignore the command.
So this “all-purpose” graphics command means you can do our first example
two different ways:
<ESC> K 150 0
and <ES0 * 0 150 0
Changing a command’s density
You can actually switch the density that a graphics command normally gives
you.
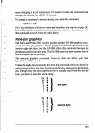
why would you want to do that? If you have a program containing many
<ES0 K commands and want to switch to double-density <ES0 L, it could
142