XEROX COAX/TWINAX OPTION
Setting the Coax option
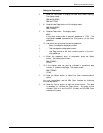
B 7. Press the Test button to display the IBM Main Menu heading.
The display reads:
IBM MAIN MENU
IBM BUTTONS
C 8. Press the Last Page button until the display reads:
IBM MAIN MENU
IBM COMMS
B 9. Press the Test button. The display reads:
0000
A four-digit access code is required (password is 1776). The
highlighted number represents the first position of the Coax
password.
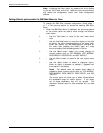
10. Use the following buttons to enter the password:
A • Menu increases the displayed number.
B • Test decreases the displayed number.
C • Last Page moves to the next numeric position in the four-
digit password.
D 11. When the password entry is completed, press the Select
button. The display should read:
IBM COMMS
COAX*
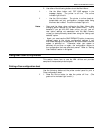
C 12. If the display does not read as indicated in procedural step
number 11, press the Last Page. The display reads:
IBM COMMS
COAX
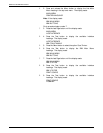
D 13. Press the Select button to select the Coax communications
option.
You may immediately use the IBM Coax interface by following
the final step below.
H 14. Press the Online button to take the printer online. This step
is necessary to initialise the Coax option. The green online
indicator light is lit and the 4213 is ready and the IBM Coax
interface is in place.
XEROX 4213 LASER PRINTER USER GUIDE A3-41


