


66 CHAPTER 4: WORKING WITH NETWORK PLANS
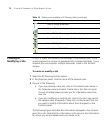
5 Select the scope:
Mobility Domain
WX switch
Radio profile
Individual MAP radio
To select a radio profile, display it first by clicking on the plus sign next to
the WX switch. To select an individual radio, display it first by displaying
its radio profile, then clicking on the plus sign next to the radio profile.
6 If you accessed the wizard from the toolbar, select the scope. You can
select a Mobility Domain, WX switch, MAP, or radio profile.
7 Click Next. The progress is displayed.
8 Click Finish.
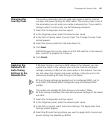
Uploading a WX
Switch into the
Network Plan
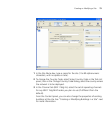
1 Select the Configuration tool bar option.
2 In the Task List panel, select Upload Wireless Switch.
3 In the IP Address box, type the IP address for the WX switch.
4 In the Enable Password box, type the enable password for the WX switch.
This password must match the enable password that was defined using
the CLI command set enablepass. For more information, see the
Wireless LAN Switch and Controller Configuration Guide.
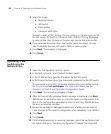
5 Click Next. The uploading progress is shown.
6 After the Successfully uploaded device message is displayed, click Next.
3WXM uses its verification rules to check the switch’s configuration. If an
item in the configuration generates an error or warning, 3WXM displays
the error or warning message.
7 Review the verification messages to determine whether you will need to
make changes to the switch’s configuration after uploading it into 3WXM.
8 Click Next.
9 Click Finish.
10 If 3WXM displayed error or warning messages, select the Verification tool
bar option and go to “Verifying Configuration Changes” on page 363.