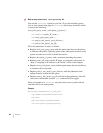
6Enter information into the remote printer form, as follows:
m
Printer queue name
Ty pe the local queue name users will use as the name for
the printer.
m
Remote system name
Ty pe th e I P name assigned to the printer as described
in “Step 3: Assigning an IP Address to the Printer,” earlier in this chapter.
m
Remote printer queue name
Ty pe the local queue name users will use as the
name for the printer.
m
Remote cancel model
Used for remote printer job removal; type rcmodel
m
Remote status model
Used for remote printer queue status; type rsmodel
m
Make this the system default printer? (y or n)
Ty p e y to make this printer the
default printer for all workstations on this segment of the network.
m
Printer class
Optional
m
Restrict cancel
Optional
m
Remote printer on a BSD system? (y or n)
Because this printer is a Berkeley-
style remote printer, type
y
7Choose Perform Task from the SAM menu.
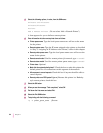
8 To enable the print queue you just created, choose the following items from the SAM
menu, in order:
Peripheral Devices
Printers and Plotters
Enable a Printer
9When SAM asks for the printer name, type the IP name assigned to the printer as
described in “Step 3: Assigning an IP Address to the Printer,” earlier in this chapter.
10 Leave SAM.
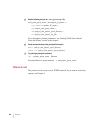
11 Start the LP request scheduler by typing
/usr/lib/lpsched
12 Test printing with the following command:
lp -d printer_queue_name filename
122
Chapter 4


