1-5
SETUP & PREPARATION BEFORE USE - CHAPTER 1
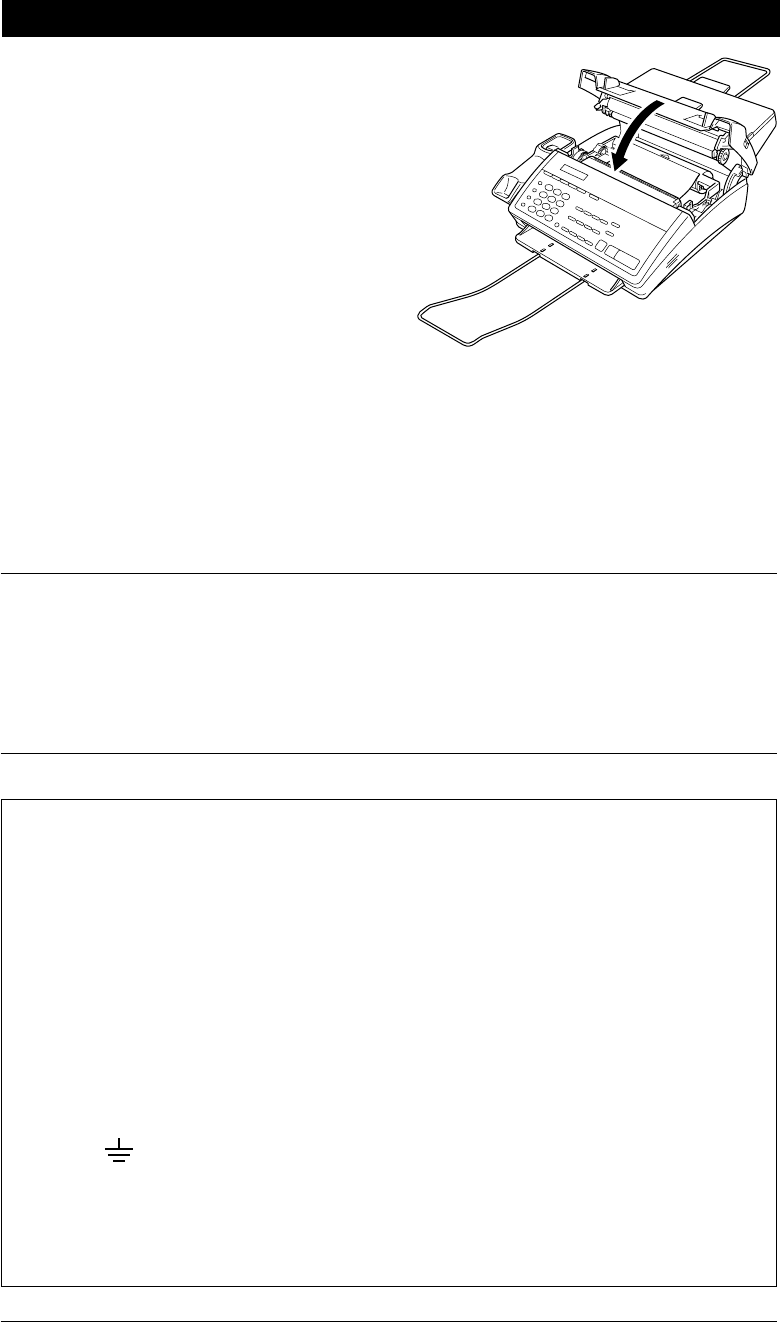
4) Close the cover and push down on both
sides until it clicks.
4. Connect the power cord.
When you connect the power, the display will show “01/01 00:00 FAX”.
NOTE: As this machine has no power switch, it has power running to it whenever it is
connected to the mains.
NOTICE
1. This fax machine must be earthed via a 3 pin socket.
2. Since the machine is earthed through the power outlet, you can protect yourself from
potentially hazardous electrical conditions on the telephone network by keeping the
power to your fax machine on when you connect it to a telephone line.
3. Lightning and Power Surges can damage this product! We recommend that you use a
quality Surge Protection Device on the AC power line as well as the telephone line or
unplug the lines during a lightning storm.
IMPORTANT: (For U.K.)
If you need to remove the moulded mains plug in order to fit an appropriate
type, you must discard the moulded plug immediately having cut it off, in
order that it is not inadvertently inserted into a live socket, thus presenting a
shock hazard. The wires in the mains lead of this appliance are coloured in
accordance with the following code.
Green-and-yellow : Earth
Blue : Neutral
Brown : Live
As the wires in the mains lead of this apparatus may not correspond with the
coloured markings identifying the terminals in your plug, proceed as follows:
The wire which is coloured green-and-yellow must be connected to the
terminal in the plug which is marked by the letter “E” or by the safety earth
symbol or coloured green or green-and-yellow.
The wire which is coloured blue must be connected to the terminal which is
marked with the letter “N” or coloured black.
The wire which is coloured brown must be connected to the terminal which is
marked with the letter “L” or coloured red.


