How to Perform a Scan (for Mac OS users)
175
8. Press the [Scan] button on the ScanSnap.
D Scanning starts.
D The [Scan] button on the ScanSnap flashes blue during scanning.
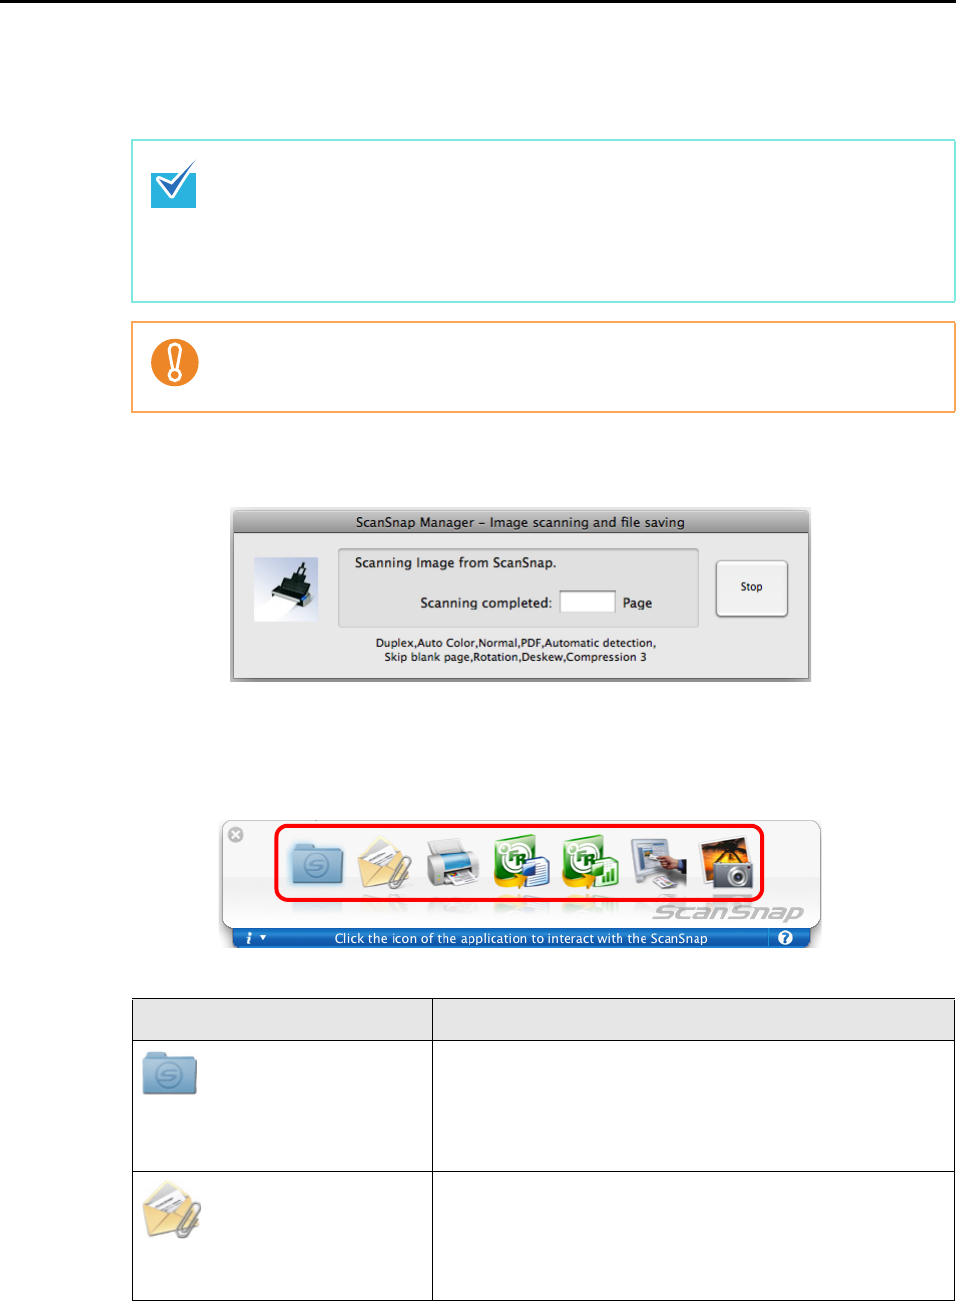
The following window appears to show the scanning progress.
D The Quick Menu appears when the scanning is completed.
9. From the Quick Menu, click an icon for the item to be performed.
D The corresponding action of the selected item is performed.
z The [Scan] button setting is set to [Duplex Scan (Double-sided)] by default.
Note that you can switch the [Scan] button setting to [Simplex Scan (Single-sided)] in
ScanSnap Manager. For more details, refer to "Changing the Scan Settings" (page
181).
z Scanning can also be started from the ScanSnap Manager menu.
For more details, refer to "ScanSnap Manager Menu" (page 170).
z Do not connect and disconnect the ScanSnap and other USB devices during scanning.
z Do not close the ADF paper chute (cover) during scanning.
z Do not switch users during scanning.
Item Description
Scan to Folder PDF or JPEG files are created from the scanned image data
and saved in a specified folder.
For information on how to continue the process after you select
this item, refer to "Saving Data in a Specified Folder" (page
198).
Scan to E-mail PDF or JPEG files are created from the scanned image data,
and an e-mail program starts with the PDF or JPEG files
attached to an e-mail message.
For information on how to continue the process after you select
this item, refer to "Attaching Files to E-Mail" (page 205).
