


Removing Assemblies 6-25
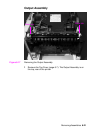
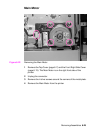
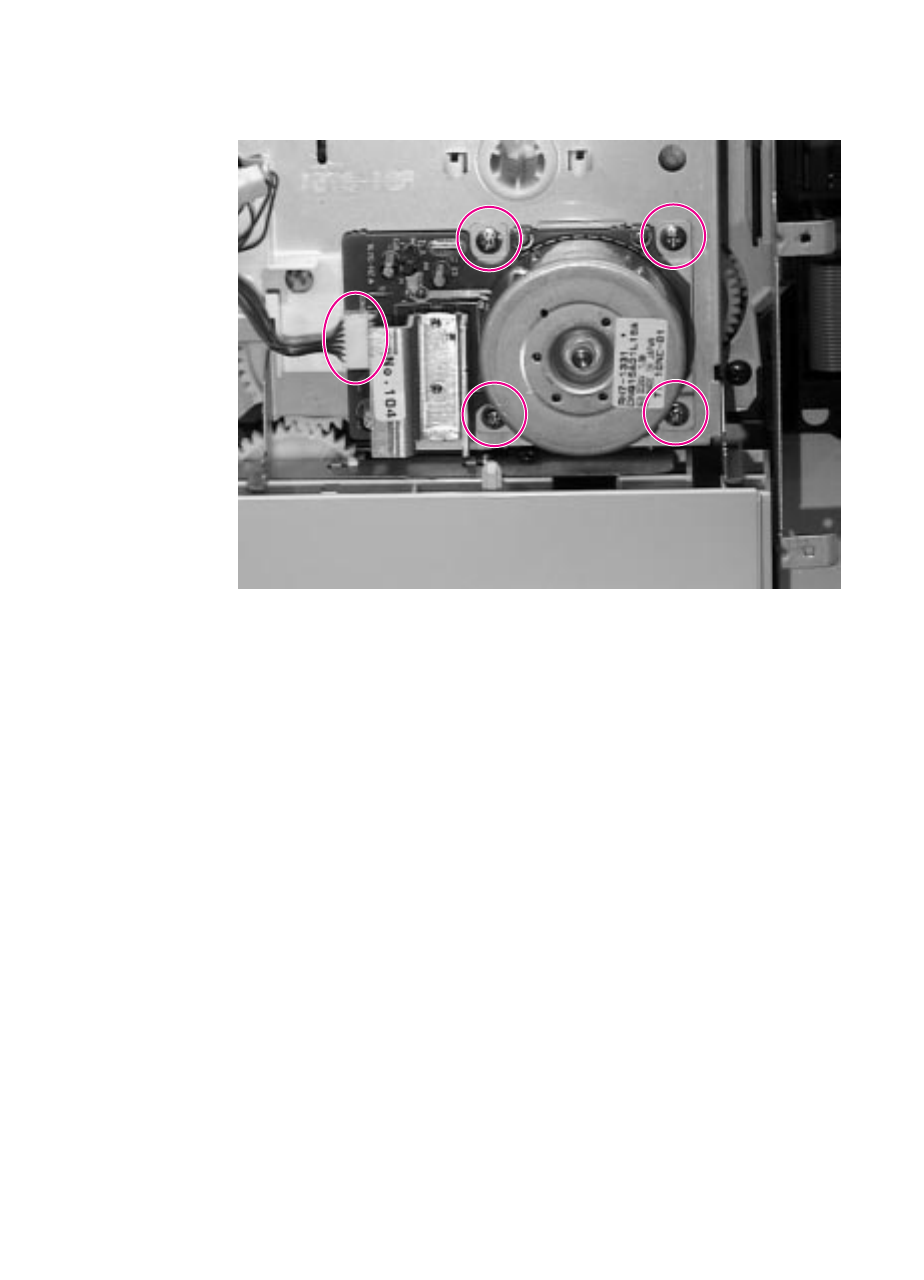
Main Motor
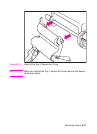
Figure 6-22 Removing the Main Motor
1 Remove the Top Cover (page 6-7) and the Front Right Side Cover
(page 6-13). The Main Motor is on the right front side of the
printer.
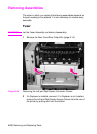
2 Unplug the connector.
3 Remove the 4 silver screws around the corners of the metal plate.
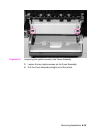
4 Remove the Main Motor from the printer.