


Installing Printer Software in Windows
9
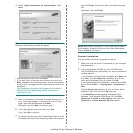
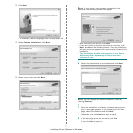
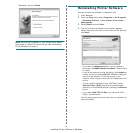
• If you click the
Advanced
button, you can search a
printer with the
SNMP Community Name
. Default
name is ‘public’.
• If you do not see your printer on the list, click
Update
to
refresh the list, or select
Add TCP/IP Port
to add your
printer to the network. To add the printer to the
network, enter the port name and the IP address for the
printer.
To verify your printer’s IP address or the MAC address,
print a Network Configuration page in machine.
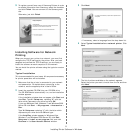
• To find a shared network printer (UNC Path), select
Shared Printer [UNC]
and enter the shared name
manually or find a shared printer by clicking the
Browse
button.
• If you select
Add TCP/IP Port
, you can enter IPv4,
IPv6 or the Hostname.
NOTE
: If you cannot find your machine in network, please
turn off the firewall and click
Update
.
For Windows operating system, click
Start
→
Control Panel
and start windows firewall, and set this option unactivated.
For other operating system, refer to its on-line guide.
6
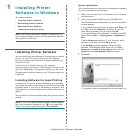
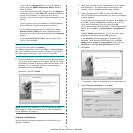
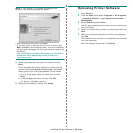
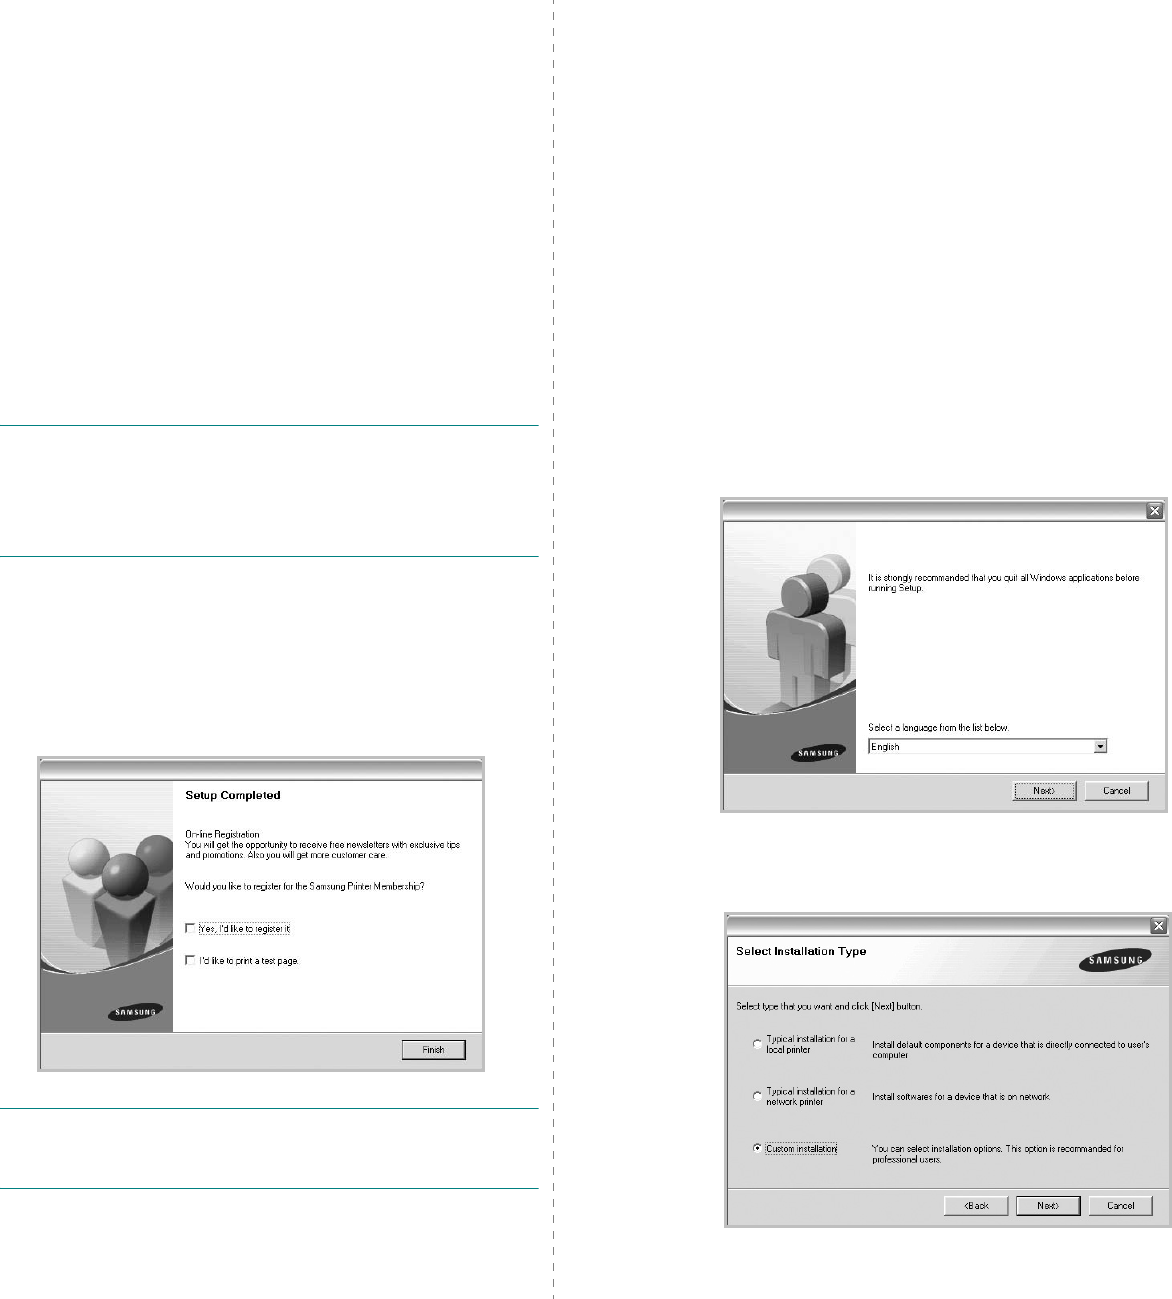
After the installation is finished, a window appears asking
you to print a test page and to register yourself as a user
of Samsung Printers in order to receive information from
Samsung. If you so desire, select the corresponding
checkbox(es) and click
Finish
.
Otherwise, just click
Finish
.
NOTE
: After setup is complete, if your printer driver doesn’t
work properly, reinstall the printer driver. See “Reinstalling
Printer Software” on page 11.
Custom Installation
You can choose individual components to install and set a
specific IP address.
1
Make sure that the printer is connected to your network
and powered on. For details about connecting to the
network, see the supplied printer’s User’s Guide.
2
Insert the supplied CD-ROM into your CD-ROM drive.
The CD-ROM should automatically run, and an installation
window appears.
If the installation window does not appear, click
Start
and
then
Run
. Type
X:\Setup.exe
, replacing “
X
” with the
letter which represents your drive and click
OK
.
If you use Windows Vista, Windows 7 and Windows 2008
Server R2 click
Start
→
All programs
→
Accessories
→
Run
.
Type
X:\Setup.exe
replacing “X” with the letter which
represents your drive and click
OK
and type
.
If the
AutoPlay
window appears in Windows Vista,
Windows 7 and Windows 2008 Server R2, click
Run
Setup.exe
in
Install or run program
field, and click
Continue
in the
User Account Control
window.
3
Click
Next
.
• If necessary, select a language from the drop-down list.
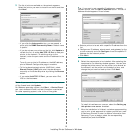
4
Select
Custom installation
. Click
Next
.