3.7 <
Getting Started>
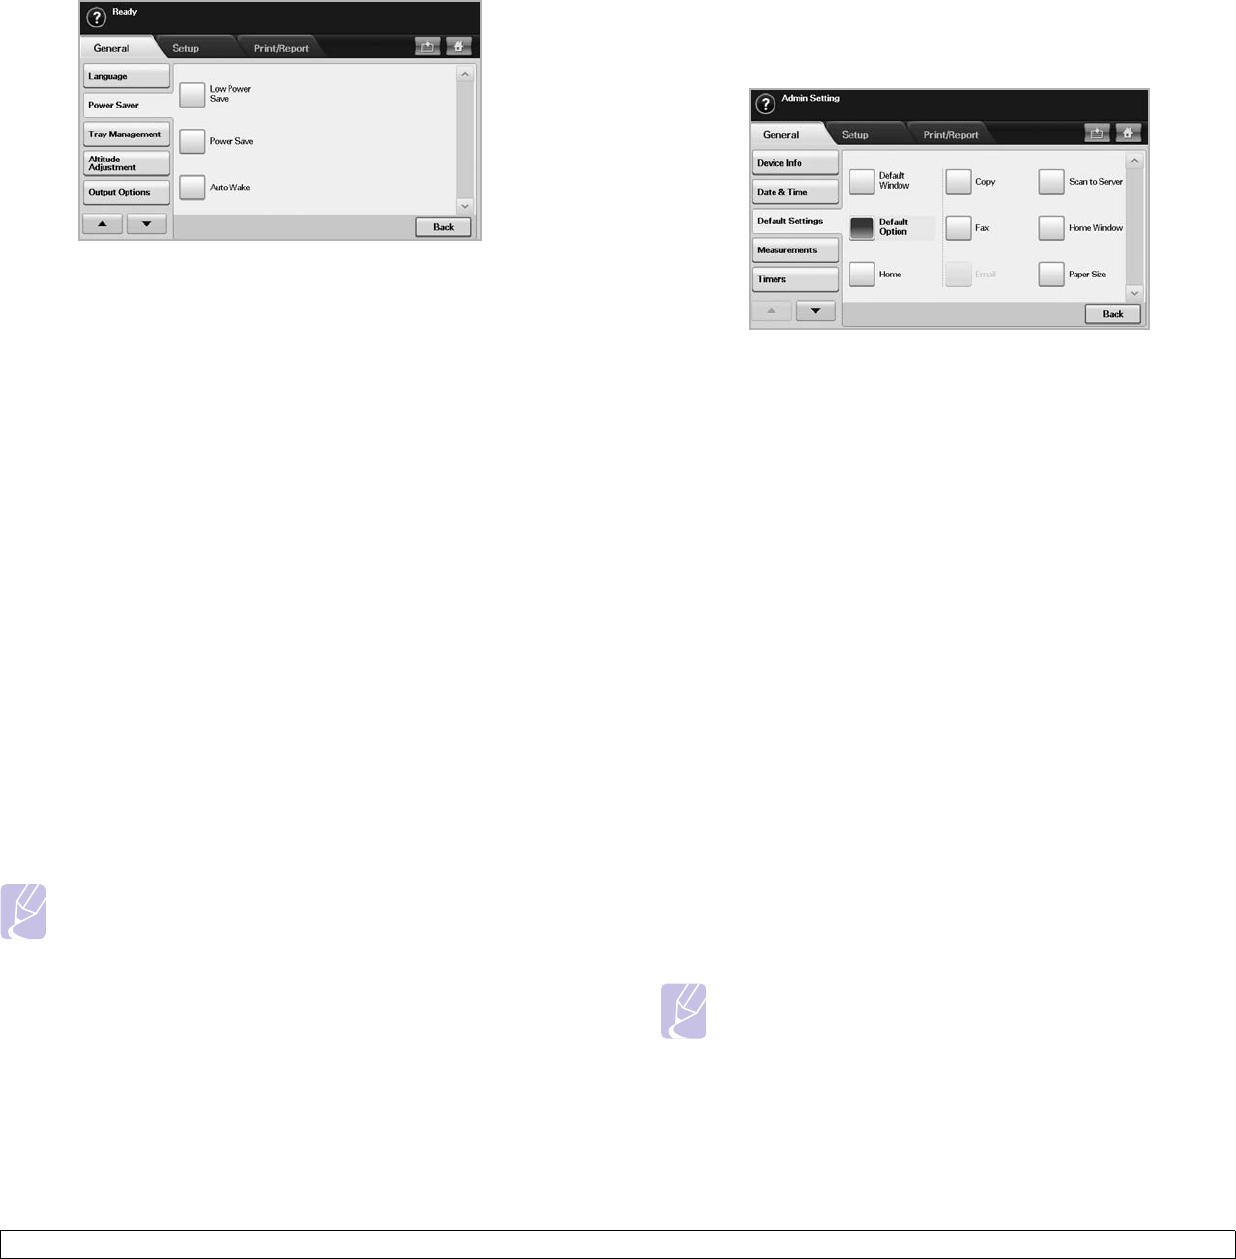
6 Select appropriate option and time.
• Low Power Save: Keeps the temperature of the fuser unit under
100 °C, and turns off the fans within the machine except a core fan
for the fuser unit.
• Power Save: Turns off all the fans even for the fuser unit after
certain time.
• Auto Wake: The machine automatically wakes up from the power
save mode on the time you have set.
7 Press OK.
Setting the default tray and paper
You can select the tray and paper you would like to keep using for printing
job. (Page 10.2)
1 Press Machine Setup on the control panel.
2 Press Admin Setting.
3 When the login message appears, enter password with number
keypad and press OK. (Page 3.6)
4 Press the General tab.
5 Press the down arrow to switch the screen and press Tray
Management.
6 Select tray and its options such as paper size and type.
7 Press OK.
Note
If the optional tray is not installed, the tray options on the screen
is grayed out.
Changing the default settings
You can set the default values for copy, fax, email, scan and paper all at
once.
1 Press Machine Setup on the control panel.
2 Press Admin Setting.
3 When the login message appears, enter password with number
keypad and press OK. (Page 3.6)
4 Press the General tab > Default Settings > Default Option.
5 Press the function you want to change, and change its settings.
For example, if you want to change the default setting of the
brightness & darkness for a copy job, press Copy > Darkness and
adjust the brightness & darkness.
6 Press OK.
Changing the font setting
Your machine has preset the font for your region or country.
If you want to change the font or set the font for special condition such as
the DOS environment, you can change the font setting as follows:
1 Ensure that you have installed the printer driver from the provided
software CD.
2 Double-click the Smart Panel icon on the Windows task bar (or
Notification Area in Linux). You can also click Smart Panel on the
status bar in Mac OS X.
3 Click Printer Setting.
If your machine is connected to a network, SyncThru Web Service
screen appears automatically.
4 Click Machine Settings.
5 Click PCL.
6 Select your preferred font in the Symbol set list.
7 Click Apply.
Note
Following information shows the proper font list for
corresponding languages.
• Russian: CP866, ISO 8859/5 Latin Cyrillic
• Hebrew: Hebrew 15Q, Hebrew-8, Hebrew-7 (Israel only)
• Greek: ISO 8859/7 Latin Greek, PC-8 Latin/Greek
• Arabic & Farsi: HP Arabic-8, Windows Arabic, Code Page 864,
Farsi, ISO 8859/6 Latin Arabic
