5.7 <
Copying>
Note
If this option is grayed out, select following options in the
Basic tab to activate it;
- Duplex to 1 -> 1 Sided
- Reduce/Enlarge to Original(100%)
- Paper Supply to Tray.
5 Press On to activate this feature.
6 Press OK.
7 Press Start on the control panel to begin copying.
Note
Your original is divided into 9 portions. Each portion is scanned
and printed one by one in the following order:
Clone copying
The machine prints multiple original images on a single page. The
number of images is automatically determined by the original image and
the paper size.
1 Place a single original face down on the scanner glass. (Page 4.1)
Note
The original must be placed on the scanner glass in order to
use this feature.
2 Press Copy from the Main screen.
3 Select the tray in Paper Supply.
4 Press the Advanced tab > Clone Copy.
Note
If this option is grayed out, select following options in the
Basic tab to activate it;
- Duplex to 1 -> 1 Sided
- Reduce/Enlarge to Original(100%)
- Paper Supply to Tray.
5 Press On to activate this feature.
6 Press OK.
7 Press Start on the control panel to begin copying.
Book copying
Use this feature to copy a book. If the book or magazine is thicker than
30 mm (1.18 inches), start copying with the scanner lid open.
1 Place the originals face down on the scanner glass. (Page 4.1)
Note
The original must be placed on the scanner glass to use
this feature.
2 Press Copy from the Main screen.
3 Press the Advanced tab > Book Copy.
Note
To remove shadows of a book edge, press the Image tab >
Erase Edge > Book Center and Edge Erase.
4 Select the binding option.
• Off: Disables this feature.
• Left Page: Prints left page of the book.
• Right Page: Prints right page of the book.
• Both Page: Prints both facing pages of the book.
5 Press OK.
6 Press Start on the control panel to begin copying.
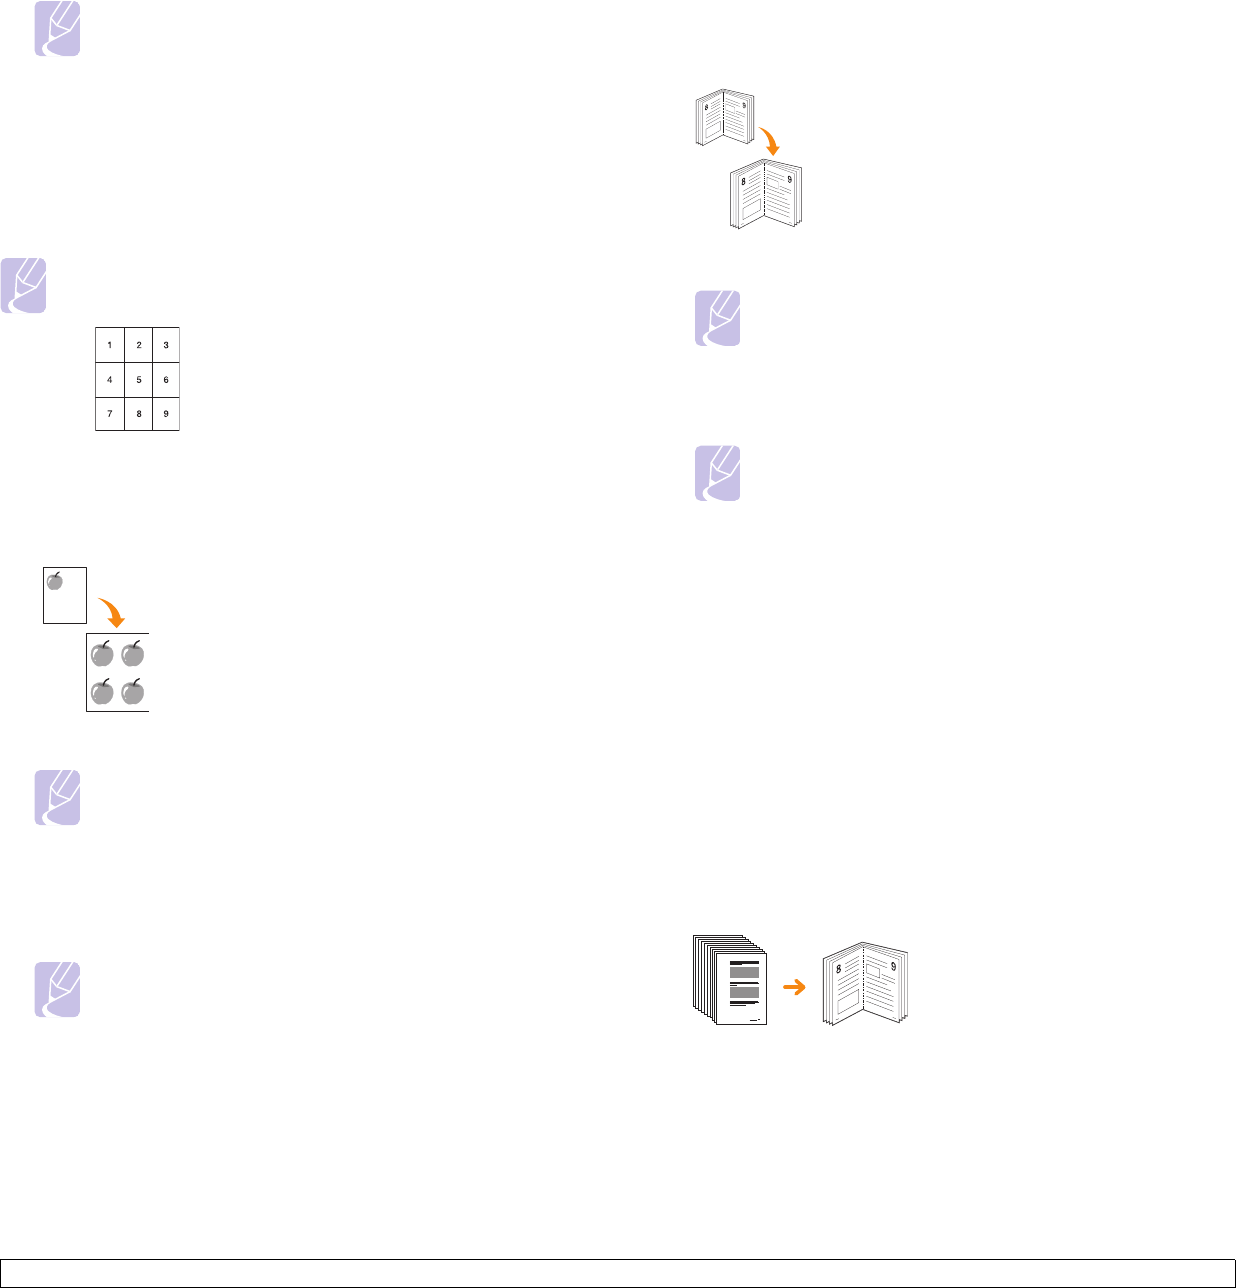
Booklet copying
The machine automatically prints on one or both sides of the paper, which
are then folded to produce a booklet with all of the pages in the correct
sequence.
The machine will also reduce and correctly adjust the position of each
image to fit on the selected paper.
1 Place the originals face up in the DADF. Or place a single original
face down on the scanner glass. (Page 4.1)
2 Press Copy from the Main screen.
3 Select the tray in Paper Supply.
4 Press the Advanced tab > Booklet.


